Want to have your own Slack like online chat hostedon your own server? Here is the process. First spin up a VM with Debian 11. Enable snaps on Debian and install Rocket.Chat Server
Snaps are applications packaged with all their dependencies to run on all popular Linux distributions from a single build. They update automatically and roll back gracefully.
Snaps are discoverable and installable from the Snap Store, an app store with an audience of millions.
Enable snapd
On Debian 9 (Stretch) and newer, snap can be installed directly from the command line:
sudo apt update
sudo apt install snapd
sudo snap install core
Install Rocket.Chat Server
To install Rocket.Chat Server, simply use the following command:
sudo snap install rocketchat-server
Now we have Rocket.Chat, let’s set up The UFW firewall.
First lets install UFW
sudo apt-get install ufw
Check the Status
sudo ufw status verbose
By default, UFW is disabled so you should see something like this:
Status: inactive
Let’s set your UFW rules back to the defaults so we can be sure that you’ll be able to follow along with this tutorial. To set the defaults used by UFW, use these commands:
sudo ufw default deny incoming
Output:
Default incoming policy changed to ‘deny’
(be sure to update your rules accordingly)
sudo ufw default allow outgoing
Output:
Default outgoing policy changed to ‘allow’
(be sure to update your rules accordingly)
Allow SSH Connections
To configure your server to allow incoming SSH connections, you can use this UFW command:
sudo ufw allow ssh
Output:
Rules updated
Rules updated (v6)
this command works the same as the one above:
sudo ufw allow 22
Let’s add the rocket.chat port 3000
sudo ufw allow 3000
Now that your firewall is configured to allow incoming SSH connections, we can enable it
sudo ufw enable
Command may disrupt existing ssh connections. Proceed with operation (y|n)? y
Firewall is active and enabled on system startup
Use Nginx as Proxy Server
For those who want to access the Rocket Chat server at port 80 or 443, let’s configure the Nginx Proxy server for that if you are not using the Apache already. First of all, install it using the given command.
sudo apt install nginx -y
Create a site configuration file to proxy the Rocket Chat server address:
sudo nano /etc/nginx/conf.d/rocketchat.conf
Add the following lines:
server {
        listen 80;
        server_name your-domain or ip-address;

        error_log /var/log/nginx/rocketchat_error.log;

        location / {
            proxy_pass http://127.0.0.1:3000/;
            proxy_http_version 1.1;
            proxy_set_header Upgrade $http_upgrade;
            proxy_set_header Connection "upgrade";
            proxy_set_header Host $http_host;
            proxy_set_header X-Real-IP $remote_addr;
            proxy_set_header X-Forwarded-For $proxy_add_x_forwarded_for;
            proxy_set_header X-Forwarded-Proto http;
            proxy_set_header X-Nginx-Proxy true;
            proxy_redirect off;
        }
    }
Note: Replace your-domain or ip-address with a domain name if you want to access the Rocket Chat server using a fully qualified domain name. Whereas the users who want to access it using the Server’s public or private IP address use that.
Save the file using Ctlr+O, hit the Enter key, and then exit the file using Ctrl +X.
After that check, if the Nginx configuration is ok.
sudo nginx -t
Output must be:
nginx: the configuration file /etc/nginx/nginx.conf syntax is ok
nginx: configuration file /etc/nginx/nginx.conf test is successful
Now, restart the Nginx server and enable it:
sudo systemctl restart nginx
sudo systemctl enable nginx
Setup Let’s Encrypt SSL for Rocket Chat
If you are using a fully qualified domain name to access the Rocket Server running on Ubuntu 22.04 then setting up an SSL certificate is quite easy and free of cost using Let’s Encrypt.
Let’s disable the firewall temporarily.
sudo ufw disable
Now, follow the given command:
sudo apt install certbot python3-certbot-nginx -y
Run the command to issue an SSL certificate
sudo certbot --nginx
Once the certificate is issued, restart the Nginx once more:
sudo systemctl restart nginx
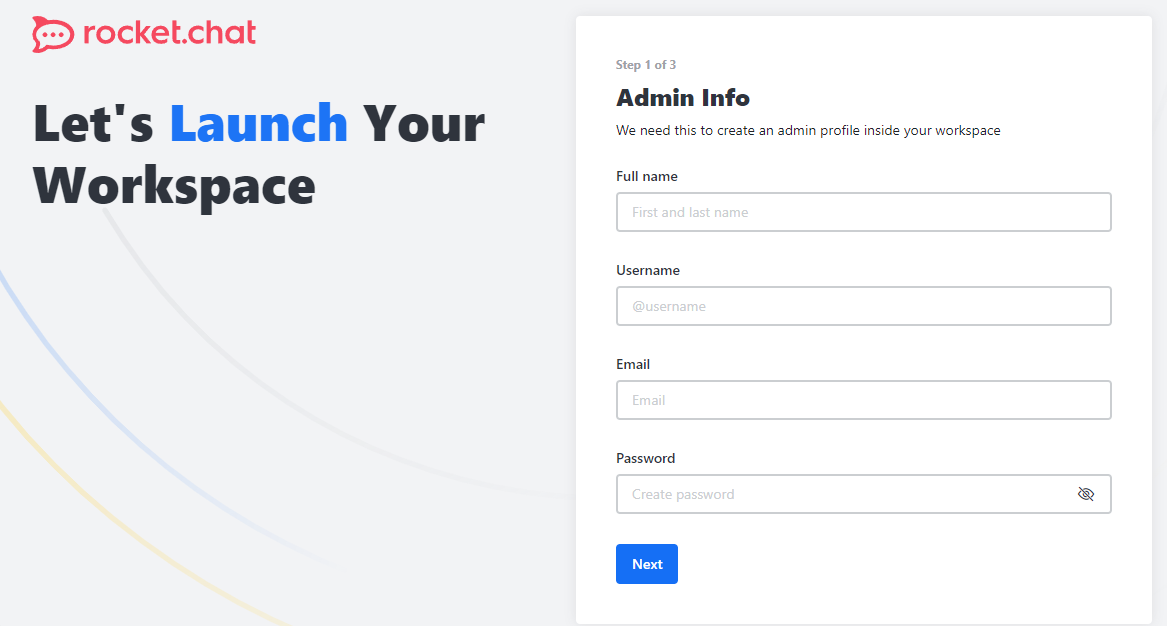
Then browse to https://domain.name and setup Rocket.Chat.
Where is the entire rc base by default after such an installation? And how to move it to /var/lib/mongodb