There are several control panels for managing website. Let’s take a look at Virtualmin.
Virtualmin is a web hosting control panel that allows users to manage multiple domains and websites from a single interface. It provides a range of tools for managing web servers, email accounts, FTP accounts, databases, and more, all from a web-based interface. Virtualmin supports multiple operating systems, including CentOS, Debian, Ubuntu, and others, and integrates with popular web servers such as Apache and Nginx. With Virtualmin, users can easily create and manage virtual hosts, install popular web applications, and configure advanced settings for their web server. It is a popular alternative to other web hosting control panels such as cPanel and Plesk.
Pre-Install
For this article we are installing on Debian. Once you have a base install of Debian, we can install Virtualmin control panel.
In this case, we spin up a fre tier Debian EC2 instance. Once deployment is completed, login to configure the server.
Make sure that the domain name points to your server’s IP address. Use the following command to check your current hostname.
hostname -f
ip-172-31-0-14.ec2.internal
Use the following command to change your hostname if necessary.
hostnamectl set-hostname myserver.example.com
Now add both the hostname and FQDN in the /etc/hosts file:
172.31.0.14 myserver.example.com
Reboot.
Install
First, let’s download the script.
wget https://software.virtualmin.com/gpl/scripts/virtualmin-install.sh
Let’s look at options:
sudo sh virtualmin-install.sh --help
Output:
 sudo sh virtualmin-install.sh --help
Usage:  virtualmin-install.sh [options]

  If called without arguments, installs Virtualmin.

  --help|-h                       display this help and exit
  --bundle|-b <LAMP|LEMP>         choose bundle to install (defaults to LAMP)
  --minimal|-m                    install a smaller subset of packages for low-memory/low-resource systems
  --unstable|-e                   enable support for Grade B systems (Fedora, CentOS Stream, Oracle)
  --no-package-updates|-x         skip installing system package updates
  --setup|-s <auto|force-latest>  setup Virtualmin software repositories and exit
  --hostname|-n                   set fully qualified hostname
  --force|-f                      assume "yes" as answer to all prompts
  --verbose|-v                    increase verbosity
  --uninstall|-u                  removes all Virtualmin packages (do not use on a production system)
For this install I am going to run the standard LAMP install. I am installing on an AWS EC2 instance that is 1GB RAM and 1vCPU. So I am using the minimal install for low-memory/low-resource systems.
sudo sh virtualmin-install.sh --minimal
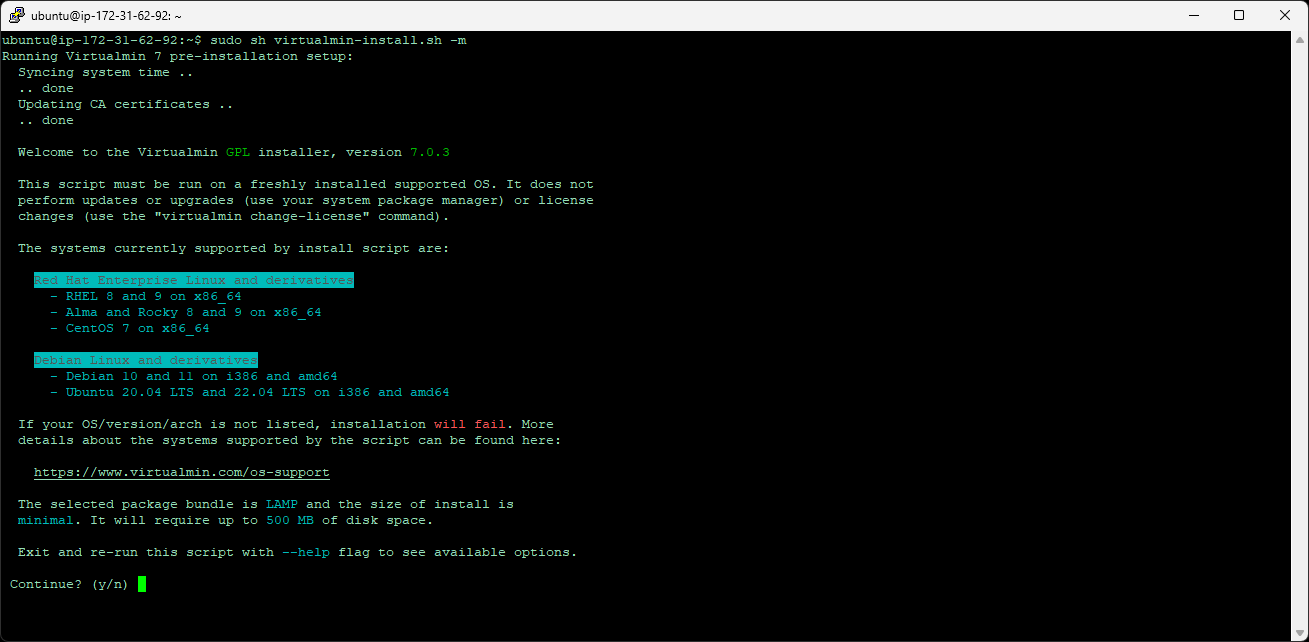
The install will ask a few questions regarding the OS and size. Just continue with the install.
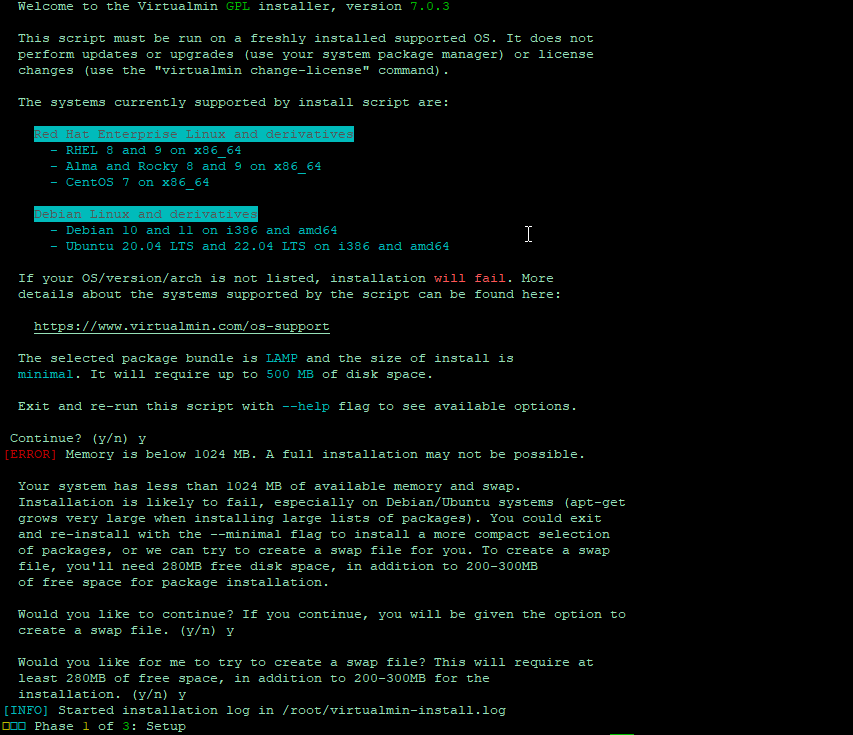
Once completed, you will see a completion message.
Setting a root password
If your system does not have a password set for the root user, you may need to set a root password using the passwd command before you can login on port 10000. This can be the case when installing on an EC2 instance that uses an SSH key to login as root, or an Ubuntu system that uses sudo. If you have an administrative user with sudo ALL privileges, commonly the first user on an Ubuntu system, you can use that user to login to Virtualmin.
Once the root password is set, you can now login to the Web GUI to finish configuration. The URL should be the public IP with port 10000.
https://ipaddress:10000
*Be sure port 10000 is open in the AWS security group.
The next steps depend on your setup. Most of the default choices are ok.
Now you can add domains (virtual servers).
Let us know if there are any issues or questions that you have. We are online every day.