R1Soft error will resemble something like – “Failed to backup LVM/MD Configuration” with running LVM based commands from R1Soft.

Usually due to an upstream vendor or repo update of the LVM binary that conflicts with the R1soft native configuration “lvm.static” command.

Error:

Failed backup of LVM configuration
Failed to execute command ‘lvm.static pvs -o pv_fmt,pv_uuid,dev_size,pv_name,pv_mda_free,pv_mda_size,pv_all,seg_all,pvseg_all,vg_all,lv_all –nameprefixes –noheadings –units b –nosuffix –unquoted’

Workaround:

# mv /usr/sbin/r1soft/lib/lvm.static /usr/sbin/r1soft/lib/lvm.static_orig

# ln -s /sbin/lvm /usr/sbin/r1soft/lib/lvm.static

The first step to install the Server Backup Manager is to create a new YUM .repo file with the R1Soft repository information.  Save the file in the yum.repos.d directory (typically located in /etc/).


#nano /etc/yum.repos.d/r1soft.repo

Add the following:


[r1soft]
name=R1soft Repository Server
baseurl=http://repo.r1soft.com/yum/stable/$basearch/
enabled=1
gpgcheck=0

Verify what was written to the file by running ‘cat /etc/yum.repos.d/r1soft.repo’

# cat /etc/yum.repos.d/r1soft.repo

Now that the repo is added, run ‘yum install serverbackup-enterprise’ to install Server Backup Manager. Enter ‘y’ to install the package and its dependencies.

# yum install serverbackup-enterprise

Next you need to configure and start the Backup Manager Web-based user interface. Define a username and password for the WebUI by running ‘serverbackup-setup –user –pass ‘:

# serverbackup-setup --user r1user --pass 12w34r

It is necessary to configure a different set of ports for the Backup Manager WebUI. This will mitigate the use of random port assignments. To configure different ports for the Backup Manager WebUI, run ‘serverbackup-setup –http-port 26080 –https-port 26443’

# serverbackup-setup --http-port 26080 --https-port 26443

Finally, start the Backup Manager WebUI by running ‘/etc/init.d/cdp-server restart’

# /etc/init.d/cdp-server restart

Next, open the WebUI by pointing a browser to http://: and logging in with the username and password you configured.

Next – install the agent software on your linux server or VM that you need backed up ( See Installing the R1Soft Linux Agent on CentOS)

The first step required for installing the agent is to configure the YUM repository. Modify the repository as follows:

echo -e "[r1soft]\nname=R1Soft Repository Server\nbaseurl=http://repo.r1soft.com/yum/stable/\$basearch/\nenabled=1\ngpgcheck=0" > /etc/yum.repos.d/r1soft.repo
yum install serverbackup-agent

Or…

# nano /etc/yum.repos.d/r1soft.repo

Add…

[r1soft]
name=R1soft Repository Server
baseurl=http://repo.r1soft.com/yum/stable/$basearch/
enabled=1
gpgcheck=0

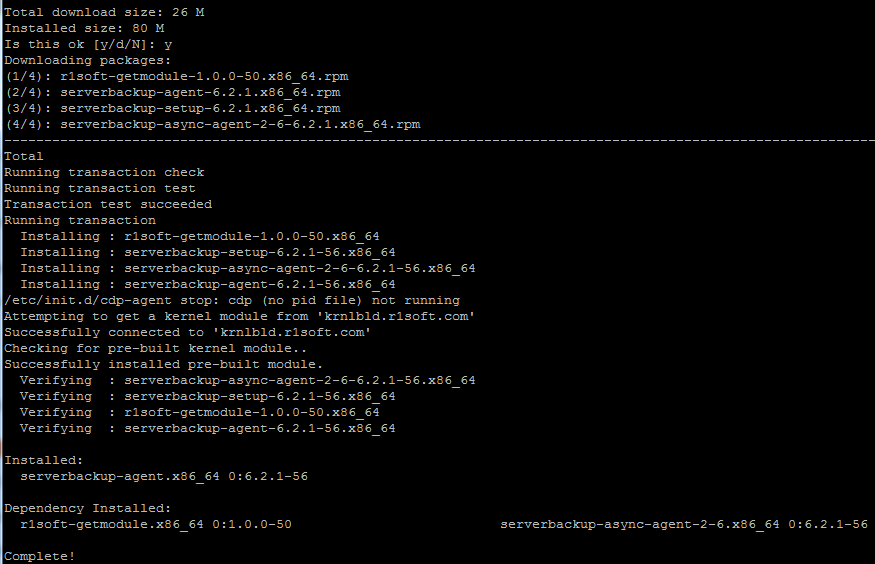
Save the files and then run ‘yum install serverbackup-agent’:

# yum install serverbackup-agent

Next, restart the agent:

# /etc/init.d/cdp-agent restart
/etc/init.d/cdp-agent restart: cdp not running, trying to start
/etc/init.d/cdp-agent restart: cdp started

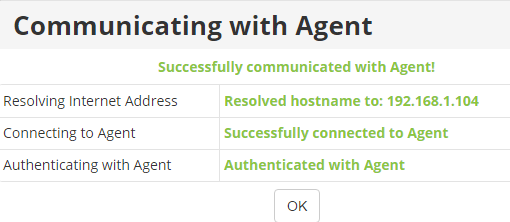
Next, we need to get the Server Backup Manager Server key from the Manager server:
NOTE: If the server manager is running on a different port than port 80, you will need to include the port in the URL. This server manager is on http port 26080. You can replace the port with port 80 if needed:

# serverbackup-setup --get-key http://192.168.1.103:26080
Key '192.168.1.103' successfully installed

If you get a connection errr - check your firewall:
# systemctl status firewalld
● firewalld.service - firewalld - dynamic firewall daemon
   Loaded: loaded (/usr/lib/systemd/system/firewalld.service; enabled; vendor preset: enabled)
   Active: active (running) since Tue 2017-02-28 17:56:33 CST; 3 days ago
     Docs: man:firewalld(1)
 Main PID: 665 (firewalld)
   CGroup: /system.slice/firewalld.service
           └─665 /usr/bin/python -Es /usr/sbin/firewalld --nofork --nopid

Warning: Journal has been rotated since unit was started. Log output is incomplete or unavailable.

Add the port on the linux agent server to allow connection from the R1Soft server manager:

# firewall-cmd --permanent --zone=public --add-port=1167/tcp --permanent
success

Reload the firewall:

# firewall-cmd --reload
success

You can now safely add this target server to the Manager Server (See Installing R1Soft Linux Manager Server on CentOS)

**** If the agent is installed on CentOS 7, or if you have installed kernel-devel / kernel-headers and ‘r1soft-setup –get-module’ is still failing, check http://repo.r1soft.com/modules/ for the associated kernel and driver.

You can download the appropriate module to /lib/modules/r1soft/ run insmod $module to insert the module and /etc/init.d/cdp-agent restart to load hcpdriver.
Once CDP-agent is restarted, you can verify that the module is loaded via lsmod | grep hcp.

# cd  /lib/modules/r1soft/
# wget http://repo.r1soft.com/modules/Centos_7_x64/hcpdriver-cki-3.10.0-693.11.6.el7.x86_64.ko
# insmod  hcpdriver-cki-3.10.0-693.11.6.el7.x86_64.ko
# /etc/init.d/cdp-agent restart
# lsmod | grep hcp
# hcpdriver              81014  4

When adding the key – Error message

# r1soft-setup --get-key http://192.168.1.103
Get http://192.168.1.103//public_info: dial tcp 192.168.1.103:80: connection refused

Note: When configuring the R1Soft Manager – http and https ports were set using the command:

# serverbackup-setup --http-port 26080 --https-port 26443

Thus, the following command should work when setting up the key on the agent server to the Manager server:

r1soft-setup --get-key http://192.168.1.103:26080

You can manually configure the key by doing the below steps:

1) Login on to CDP server front end panel
2) Click on “Advanced Options” on the left-bottom menu
3) Copy the Public Key from the page.
4) On the CDP agent(the server you are trying to configure to r1soft), edit the config files at:

# cd /usr/sbin/r1soft/conf/server.allow
#ls -la
 --w----r-- 1 root root  271 Mar  3 11:13 192.168.1.103ifconfig
# nano 192.168.1.103ifconfig

5) Paste the Public Key of CDP server into this file without any white spaces.
6) Also white list the CDP server IP in the agent firewall.

# nano /etc/sysconfig/iptables

Add…

-A INPUT -p tcp -s 192.168.1.103 -j ACCEPT

Restart iptables on Agent server

# service iptables restart

7) Go to Protected Machines, Click arrow on the right for Test Agent Connection. You should see a success message:

More on Keys:
http://wiki.r1soft.com/display/CDP3/Viewing+Server+Keys+Installed+on+Linux+Agent