 Installing IPFS through the command-line is handy if you plan on building applications and services on top of an IPFS node. This method is also useful if you’re setting up a node without a user interface, usually the case with remote servers or virtual machines. Using IPFS through the command-line allows you to do everything that IPFS Desktop can do, but at a more granular level since you can specify which commands to run.
You can install as root or in Debian add or modify a user for sudo.
By default sudo is not installed on Debian, but you can install it. First login as root.
Install sudo by running:
# apt-get install sudo -y
Add a user ipfs ( or use one of your own users).
# adduser ipfs
Adding user `ipfs' ...
Adding new group `ipfs' (1000) ...
Adding new user `ipfs' (1000) with group `ipfs' ...
Creating home directory `/home/ipfs' ...
Copying files from `/etc/skel' ...
New password:
Retype new password:
passwd: password updated successfully
Changing the user information for ipfs
Enter the new value, or press ENTER for the default
        Full Name []: IPFS
        Room Number []:
        Work Phone []:
        Home Phone []:
        Other []:
Is the information correct? [Y/n] y
# usermod -aG sudo ipfs
Make sure your sudoers file have sudo group added. Run:
# visudo
Allow members of group sudo to execute any command
%sudo ALL=(ALL:ALL) ALL
Copy ssh keys to ipfs user from root(optional step)
# cp -r .ssh/ /home/ipfs/
Set permissions
# chown -R ipfs:ipfs /home/ipfs/.ssh/
You need to relogin or reboot device completely for changes to take effect.
IPFS Install
Login as the IPFS user.
Download the Linux binary from dist.ipfs.io
$ wget https://dist.ipfs.io/go-ipfs/v0.8.0/go-ipfs_v0.8.0_linux-amd64.tar.gz
Unzip the file:
$ tar xvfz go-ipfs_v0.8.0_linux-amd64.tar.gz
go-ipfs/install.s
go-ipfs/ipfs
go-ipfs/LICENSE
go-ipfs/LICENSE-APACHE
go-ipfs/LICENSE-MIT
go-ipfs/README.md
Move into the go-ipfs folder and run the install script:
$ cd go-ipfs
$ sudo ./install.sh
Moved ./ipfs to /usr/local/bin
Move to HOME
cd ..
Test that IPFS has installed correctly:
$ ipfs --version
ipfs version 0.8.0
Initialize the repository
ipfs stores all its settings and internal data in a directory called the repository. Before using IPFS for the first time, you’ll need to initialize the repository with the “ipfs init” command. There are 2 was to Initialize. Local and Data Center Installations. If you are in a Data Center skip to the Datacenter Installation below.
Local Installation (Only for local installations):
$ IPFS_PATH=~/.ipfs ipfs init
Datacenter Installation:
If you are running on a server in a data center, you should initialize IPFS with the server profile. Doing so will prevent IPFS from creating a lot of data center-internal traffic trying to discover local nodes:
$ IPFS_PATH=~/.ipfs ipfs init --profile server
generating ED25519 keypair...done
peer identity: 12D3KooWKQn2n8Yee75qJqUHAc6cpfZypby2qhczWhXYx2k4FEtM
initializing IPFS node at /home/username/.ipfs
to get started, enter:

        ipfs cat /ipfs/QmQPeNsJPyVWPFDVHb77w8G42Fvo15z4bG2X8D2GhfbSXc/readme
The hash after peer identity is your node’s ID and will be different from the one shown in the above output. Other nodes on the network use it to find and connect to you. You can run ipfs id at any time to get it again if you need it.
Now, run the command in the output of ipfs init. The one that looks like this…
$ ipfs cat /ipfs/QmQPeNsJPyVWPFDVHb77w8G42Fvo15z4bG2X8D2GhfbSXc/readme
You should see something like this:

You can explore other objects in the repository. In particular, the quick-start directory which shows example commands to try:
$ ipfs cat /ipfs/QmQPeNsJPyVWPFDVHb77w8G42Fvo15z4bG2X8D2GhfbSXc/quick-start
Take your node online
Option 1
Once you’re ready to join your node to the public network, run the ipfs daemon in another terminal and wait for all three lines below to appear to know that your node is ready. This is a way to manually start it. See below to have the service set up to start automatically.
$ IPFS_PATH=~/.ipfs ipfs daemon
Initializing daemon...
go-ipfs version: 0.9.0
Repo version: 11
System version: amd64/linux
Golang version: go1.15.8
API server listening on /ip4/127.0.0.1/tcp/5001
WebUI: http://127.0.0.1:5001/webui
Gateway (readonly) server listening on /ip4/1127.0.0.1/tcp/8080
Daemon is ready
Make a note of the TCP ports you receive. If they are different, use yours in the commands below.
Now, switch back to your original terminal. If you’re connected to the network, you should be able to see the IPFS addresses of your peers when you run:
$ ipfs swarm peers
Option 2
It would be better to start IPFS daemon as a service instead of the terminal attached process.
You can create a service so that the daemon runs automatically. Edit user profile for setting env variables:
Create systemctl service for ipfs:
$ sudo nano /etc/systemd/system/ipfs.service
Add the following (Change User and Group Accordingly):
[Unit]
Description=IPFS Daemon
After=syslog.target network.target remote-fs.target nss-lookup.target

[Service]
Type=simple
ExecStart=/usr/local/bin/ipfs daemon --enable-namesys-pubsub
User=ipfs
[Install]
WantedBy=multi-user.target
restart systemctl daemon so it finds new service:
$ sudo systemctl daemon-reload
tell systemctl that ipfs should be started on startup:
$ sudo systemctl enable ipfs
start ipfs:
$ sudo systemctl start ipfs
check status:
$ sudo systemctl status ipfs
should see something like
● ipfs.service - ipfs daemon
   Loaded: loaded (/lib/systemd/system/ipfs.service; enabled; vendor preset: enabled)
   Active: active (running) since Wed 2019-08-28 20:38:04 UTC; 4s ago
 Main PID: 30133 (ipfs)
    Tasks: 9 (limit: 4915)
   CGroup: /system.slice/ipfs.service
           └─30133 /usr/local/bin/ipfs daemon --enable-gc

ipfs[30133]: Swarm listening on /ip4/127.0.0.1/tcp/4001
ipfs[30133]: Swarm listening on /ip4/172.31.43.10/tcp/4001
ipfs[30133]: Swarm listening on /ip6/::1/tcp/4001
ipfs[30133]: Swarm listening on /p2p-circuit
ipfs[30133]: Swarm announcing /ip4/127.0.0.1/tcp/4001
ipfs[30133]: Swarm announcing /ip6/::1/tcp/4001
ipfs[30133]: API server listening on /ip4/127.0.0.1/tcp/5001
ipfs[30133]: WebUI: http://127.0.0.1:5001/webui
ipfs[30133]: Gateway (readonly) server listening on /ip4/127.0.0.1/tcp/80
ipfs[30133]: Daemon is ready
How to see documents from other that a local web URL.
By default, the files are only visible for a browser at localhost. To change this, change the gateway and restart the daemon.
Make gateway publicly accessible. This allows you and everyone to view files.
If you want to, you can make your IPFS gateway and webui publicly accessible (Note: This should not be done unless locked down with a firewall rule restricting access). Change gateway configuration to listen on all available IP addresses.
In the file at ~/.ipfs/config change the following:
$ nano ~/.ipfs/config
"API": "/ip4/127.0.0.1/tcp/5001",
"Gateway": "/ip4/127.0.0.1/tcp/8080"
to…
"API": "/ip4/0.0.0.0/tcp/5001",
"Gateway": "/ip4/0.0.0.0/tcp/8080"
You can also run the commands below from the cli:
$ ipfs config --json API.HTTPHeaders.Access-Control-Allow-Origin '["http://your_domain_name-or_ip_address.com:5001", "http://localhost:3000", "http://127.0.0.1:5001", "https://webui.ipfs.io"]'
$ ipfs config --json API.HTTPHeaders.Access-Control-Allow-Methods '["PUT", "GET", "POST"]'
$ ipfs config Addresses.API /ip4/0.0.0.0/tcp/5001
$ ipfs config Addresses.Gateway /ip4/0.0.0.0/tcp/8080
Restart IPFS after the changes
$ sudo systemctl restart ipfs
Load the URL to your site. In this case, I have an AWS instance but you can use the IP of your server or your domain name.
http://ip_address:8080/ipfs/QmQPeNsJPyVWPFDVHb77w8G42Fvo15z4bG2X8D2GhfbSXc

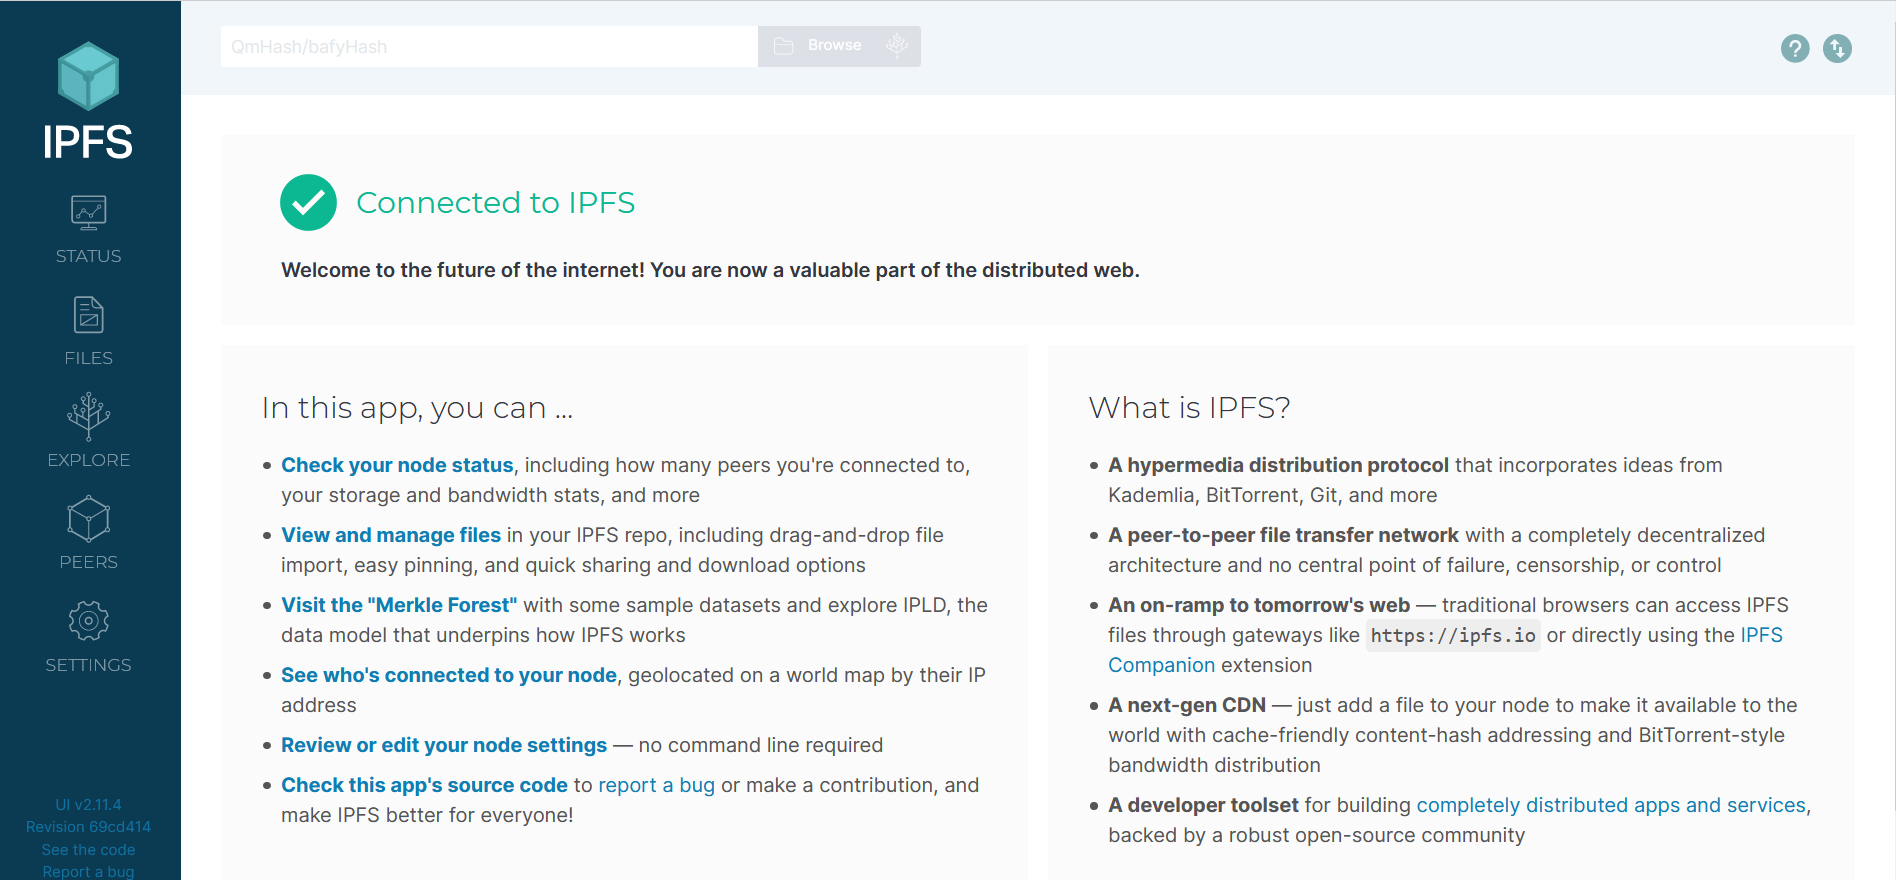
Webui
The webui is located at the following URL
http://ip_address:5001/webui
http://domain-name.com:5001/webui