Redis is an open source, in-memory, key-value data store most commonly used as a primary database, cache, message broker, and queue. Redis delivers sub-millisecond response times, enabling fast and powerful real-time applications
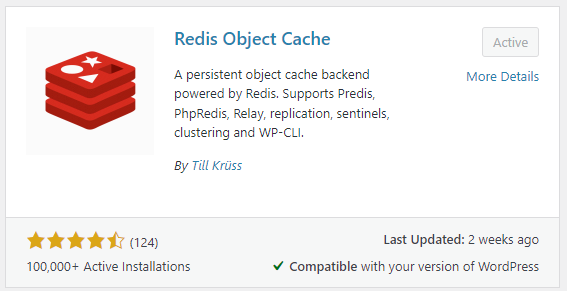
Redis Object Cache is a persistent object cache backend powered by Redis. Supports Predis, PhpRedis, Relay, replication, sentinels, clustering and WP-CLI.For a faster cache plugin.
What this means is that we can increase performance for your cPanel WordPress Site.
Now, first install Redis
Install Epel
yum install epel-release
Install Redis Server
yum install redis
After successfully installation start the Redis service and enable to auto-start on system reboot.
Enable
systemctl enable redis
Created symlink from /etc/systemd/system/multi-user.target.wants/redis.service to /usr/lib/systemd/system/redis.service.
Start
systemctl start redis
Install Redis PHP extension
You can install Redis PHP extension for all installed PHP version on your system or install for the active version only. We recommend to install for all versions.
CLI Install
Here are examples on CLI install.
PHP 8.0
/opt/cpanel/ea-php80/root/usr/bin/pecl install igbinary igbinary-devel redis
Output:
You will see a choice for the following. Just hit Enter.
enable igbinary serializer support? [no] :
enable lzf compression support? [no] :
enable zstd compression support? [no] :
The install completes.
...Build process completed successfully
Installing '/opt/cpanel/ea-php80/root/usr/lib64/php/modules/redis.so'
install ok: channel://pecl.php.net/redis-5.3.7
Extension igbinary enabled in php.ini
Extension redis enabled in php.ini
Extension redis enabled in php.ini
Check:
/opt/cpanel/ea-php80/root/usr/bin/php -m | grep redis
Output:
redis
PHP 8.1
Run the following:
/opt/cpanel/ea-php81/root/usr/bin/pecl install igbinary igbinary-devel redis
Output
Hit Enter to accept defaults
enable igbinary serializer support? [no] :
enable lzf compression support? [no] :
enable zstd compression support? [no] :
The install completes
Build process completed successfully
Installing '/opt/cpanel/ea-php81/root/usr/lib64/php/modules/redis.so'
install ok: channel://pecl.php.net/redis-5.3.7
Extension igbinary enabled in php.ini
Extension redis enabled in php.ini
Extension redis enabled in php.ini
Check
/opt/cpanel/ea-php81/root/usr/bin/php -m | grep redis
Output
redis
You can install to any PHP, just use the correct path.
Next, install and Activate the Redis Object Cache plugin via the WordPress Dashboard.
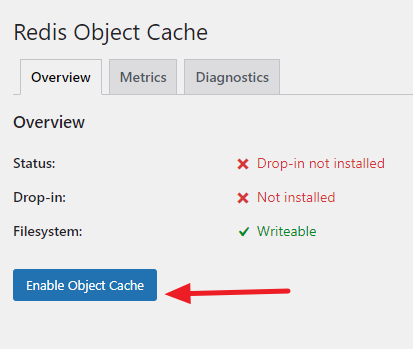
Configuring the plugin
After installing and activating the plugin, go to WordPress -> Settings -> Redis and enable the cache and check if the plugin can connect automatically.
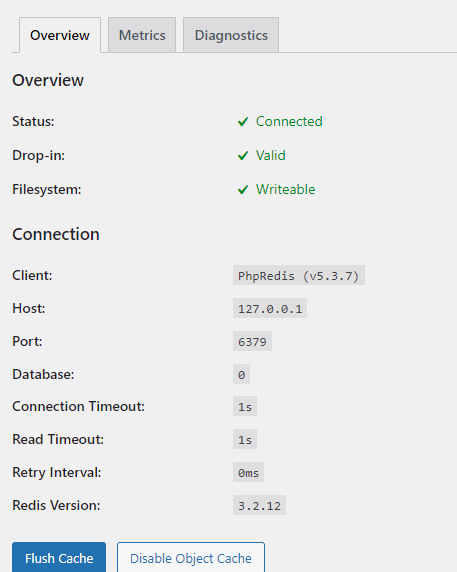
By default the object cache will connect to Redis Server over TCP at 127.0.0.1:6379.

You should see the following:
Edit the wp-config.php for each site.
When editing your wp-config.php file, it is important that WP_REDIS_* constants are defined high up in the file, above these lines:
/* That's all, stop editing! Happy publishing. */
require_once(ABSPATH . 'wp-settings.php');
Here is a good starting point.
nano wp-config.php
// adjust Redis host and port if necessary
define( 'WP_REDIS_HOST', '127.0.0.1' );
define( 'WP_REDIS_PORT', 6379 );

// change the prefix and database for each site to avoid cache data collisions
define( 'WP_REDIS_PREFIX', 'my-site' );
define( 'WP_REDIS_DATABASE', 0 ); // 0-15

// reasonable connection and read+write timeouts
define( 'WP_REDIS_TIMEOUT', 1 );
define( 'WP_REDIS_READ_TIMEOUT', 1 );
Check it in the WordPress Dashboard
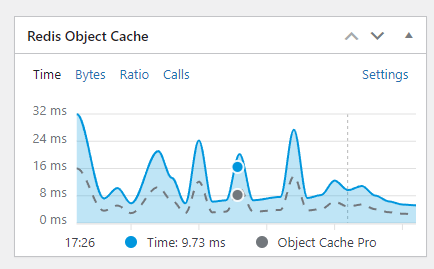
So this is a great cache plugin. For more information see: https://github.com/rhubarbgroup/redis-cache/blob/develop/INSTALL.md