This post will walk you through the setup of Active Directory Federation Services (ADFS) on Windows Server 2016 and configuring it to be your credentials for AWS.
Spin up a VM with Windows Server 2016.
After the install, Configure Networking.

Configure the network for public access.
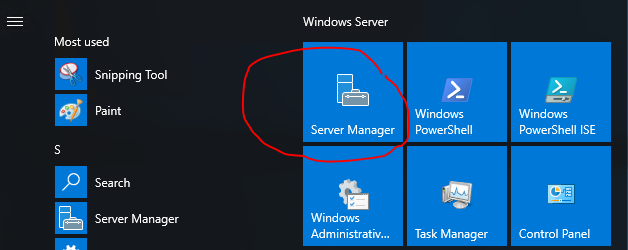
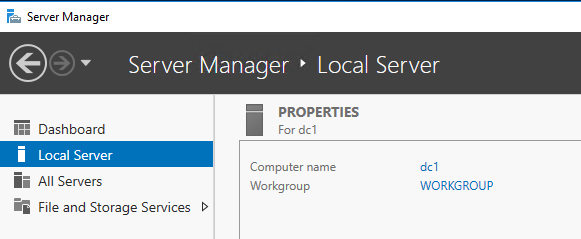
Change the computer name to something you can remember. Go to the server Manager.
click on the Computer Name
Click Change
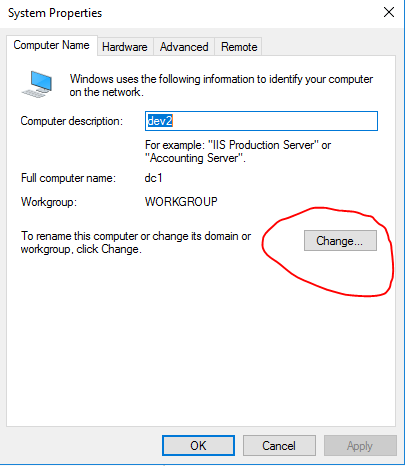
Update the name and click save and reboot. I renamed mine to adfs.
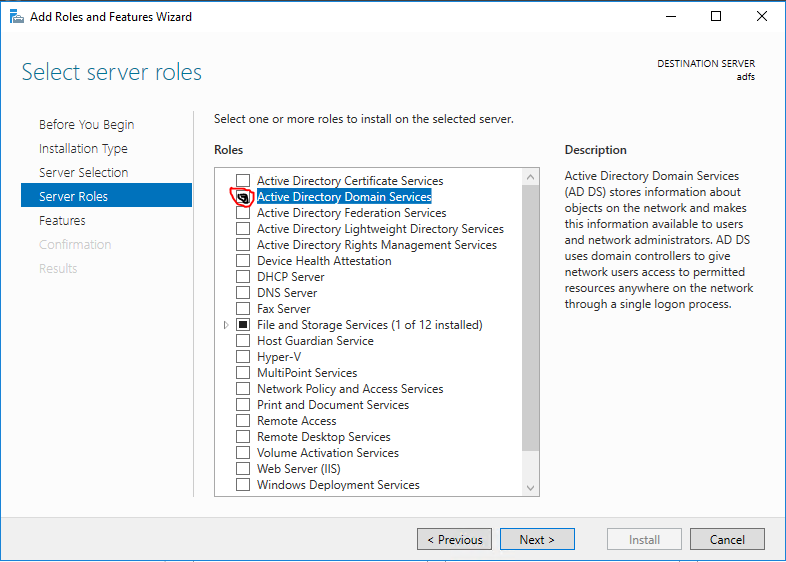
Go to server manager and install Active Directory.

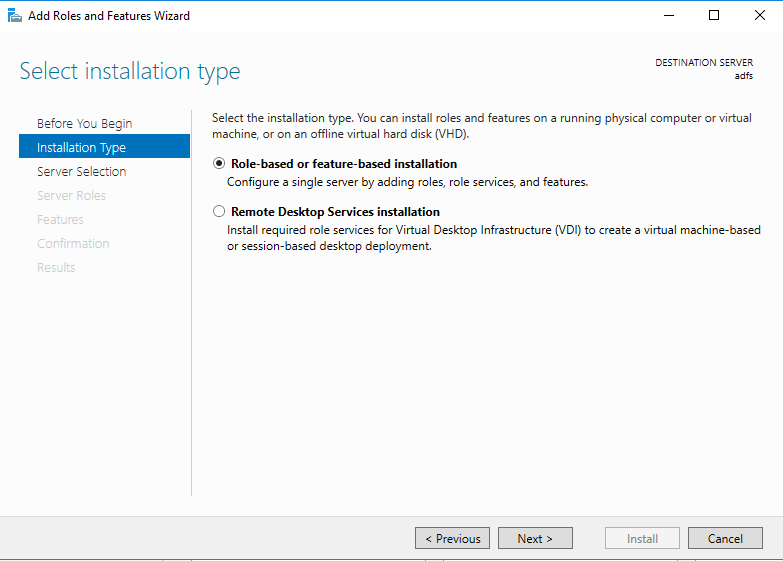
When it opens the add roles and features wizard. Click on next to proceed.

Then in next window keep the default and click next
Since its going to be local server, in next window keep the default selection.

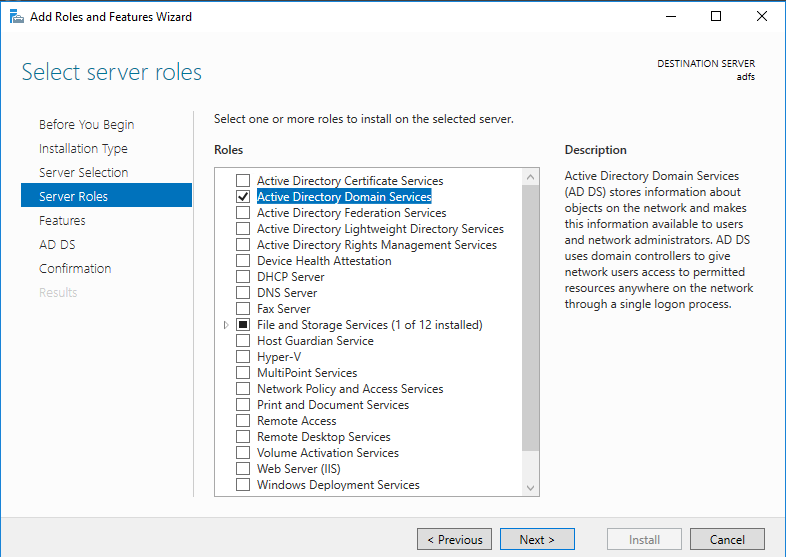
In next window from the roles put tick box for Active directory domain services. Then it will prompt to show you what are the associated features for the role. Click on Add Features to add those. Then click next to continue.

Click Next
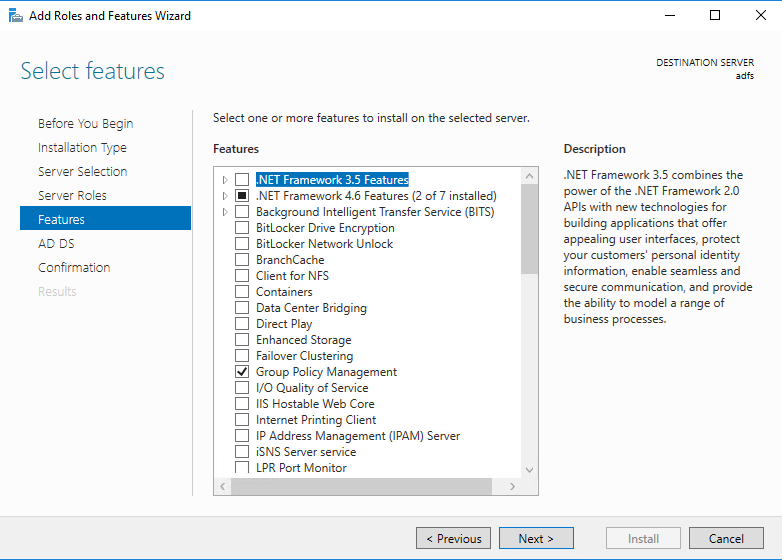
The features page, keep it default and click on next to proceed.
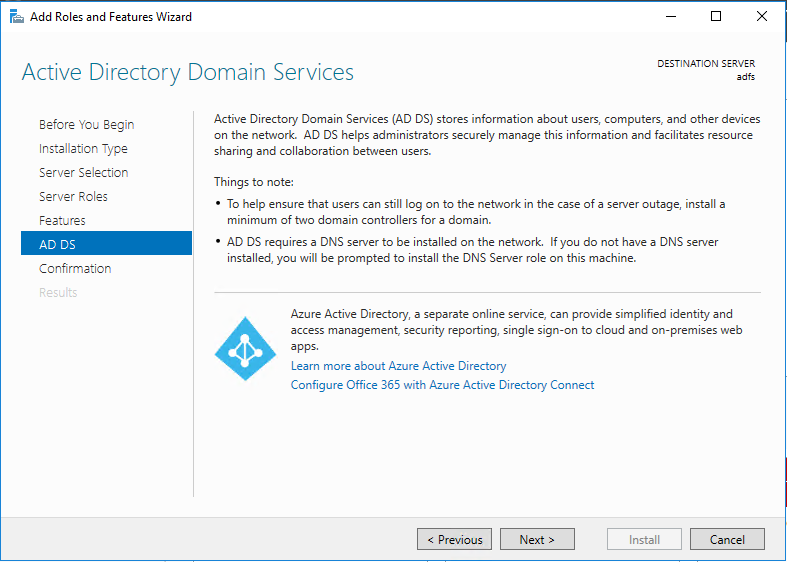
In next windows it gives brief description about AD DS service. Click next to proceed.
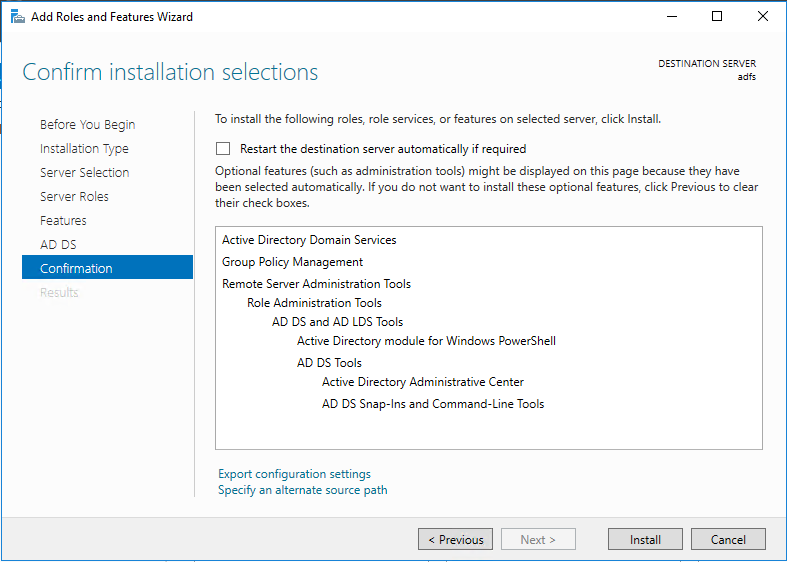
Then it will give the confirmation about install, click on install to start the role installation process.
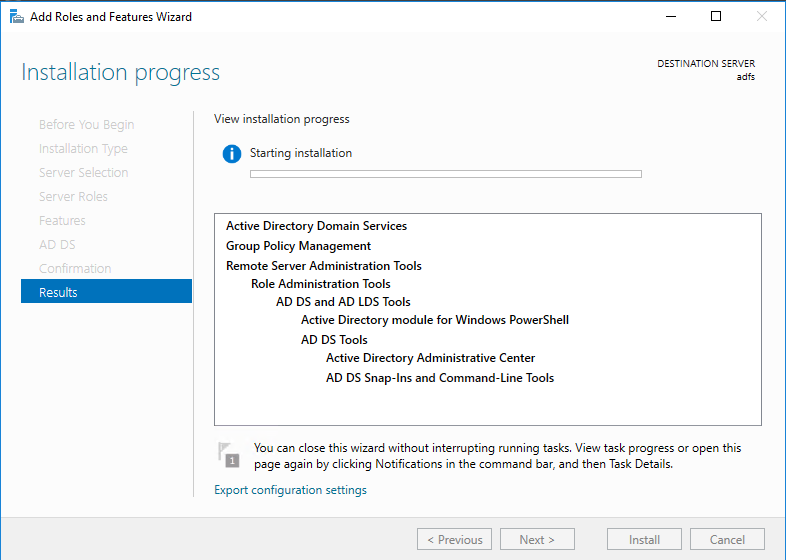
Once done, it will start the installation process
Once installation completes, click on option promote this server to a domain controller.

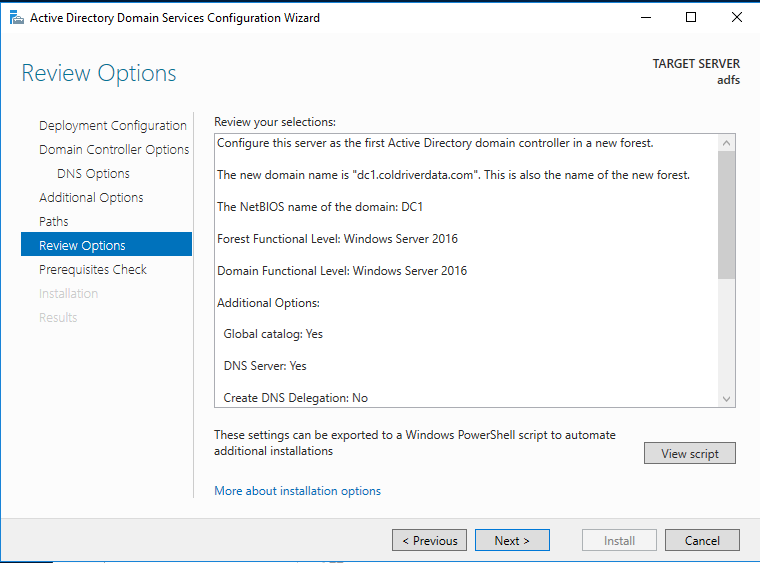
Then it will open the active directory configuration wizard. Setup new forest. Select the option to add new forest and type FQDN for the domain. Then click next.

In next page you can select the domain and forest functional levels. I am going to set it up with latest. Then type a password for DSRM. Then click next

For the DNS options, this going to be the first DNS server in new forest. So no need any modifications. Click next to proceed.

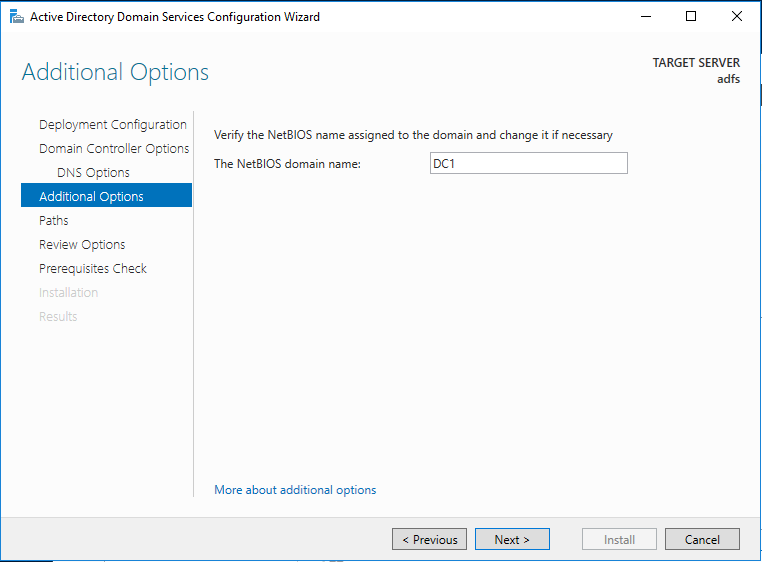
For the NETBIOS name keep the default and click next
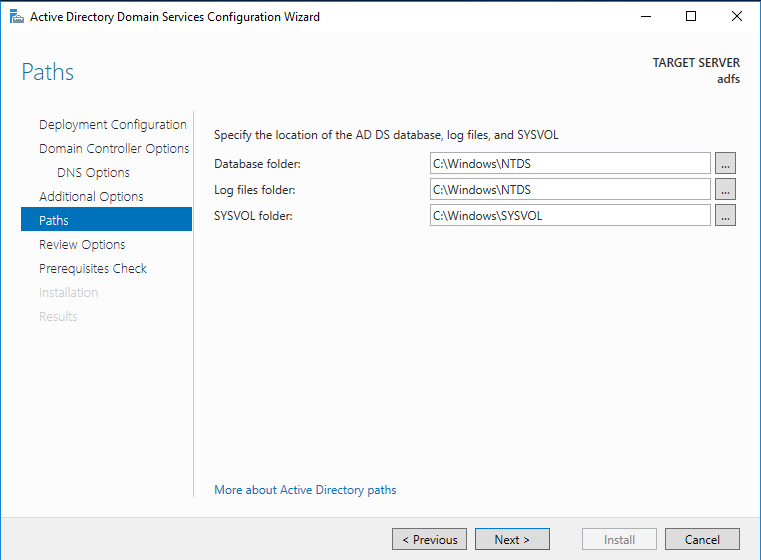
Next page is to define the NTDS, SYSVOL and LOG file folders. You can keep default or define different path for these. I will be keeping default. Once changes are done, click next to continue
Next page will give option to review the configuration changes. If everything okay you can click next to proceed or otherwise can go back and change the settings.
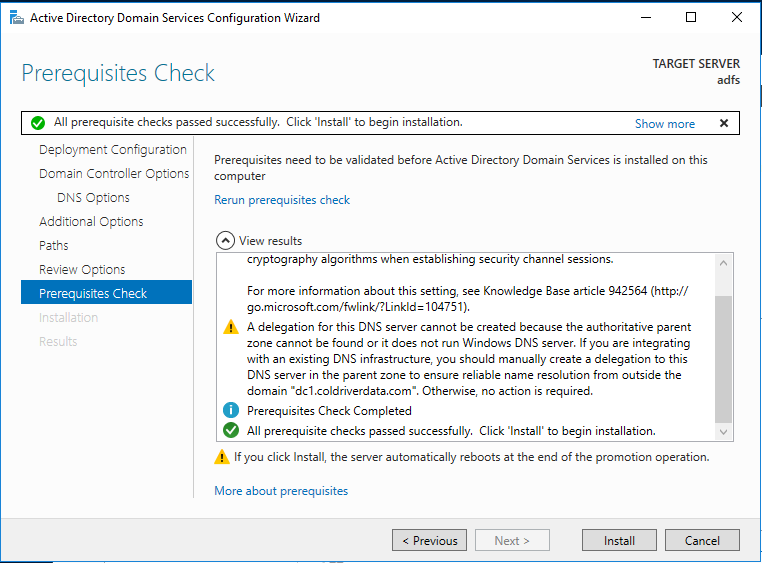
In next windows it will do prerequisite check. If it’s all good it will enable option to install. Click on install to begin installation process.
Then it will start the installation process.
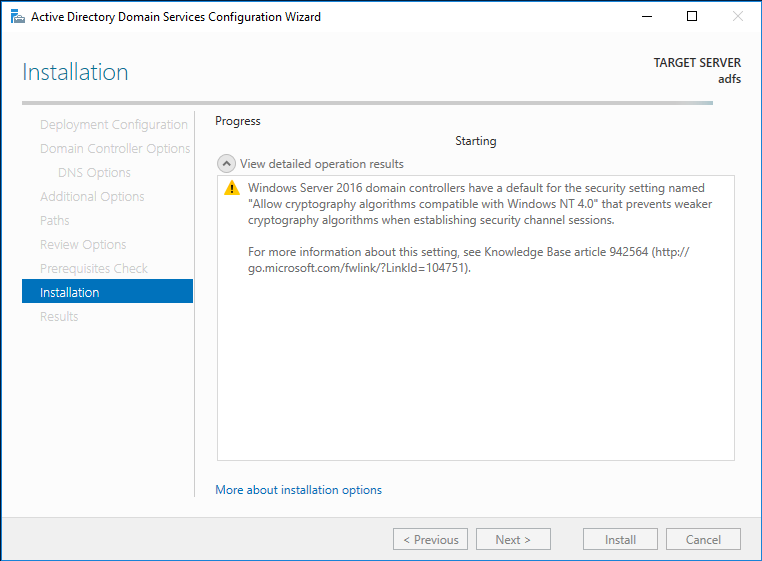
After the installation system will restart automatically.
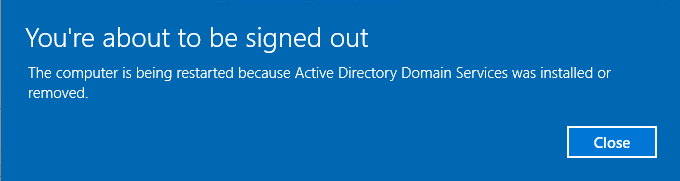
Once it comes back log in to the server as domain Administrator, ie, DOMAIN\user.

Now go to the server manager to add users and groups and to managed Active Directory.
Set up SAML -https://aws.amazon.com/blogs/security/enabling-federation-to-aws-using-windows-active-directory-adfs-and-saml-2-0/