This article is about how to Install and Configure Active Directory Federation Services Windows 2016.
Now that we have Active Directory Install, we need to install ADFS so that we can login to the AWS console.
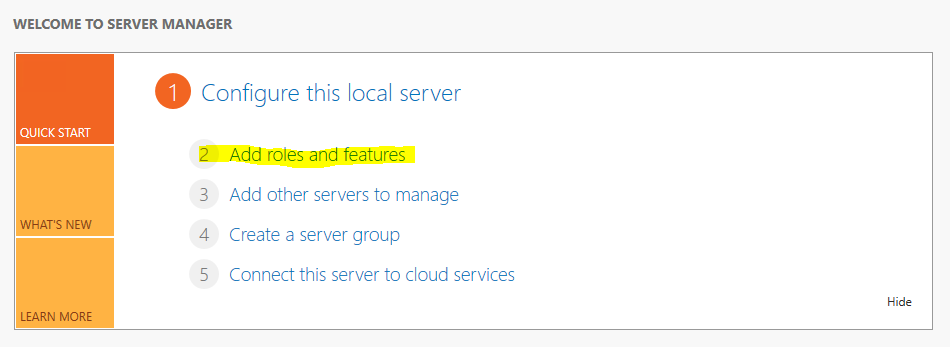
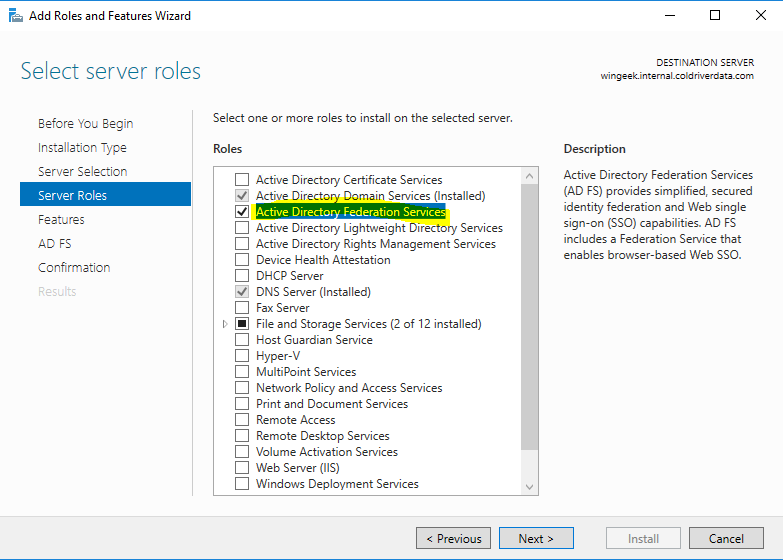
Go to server manager and add roles and features.
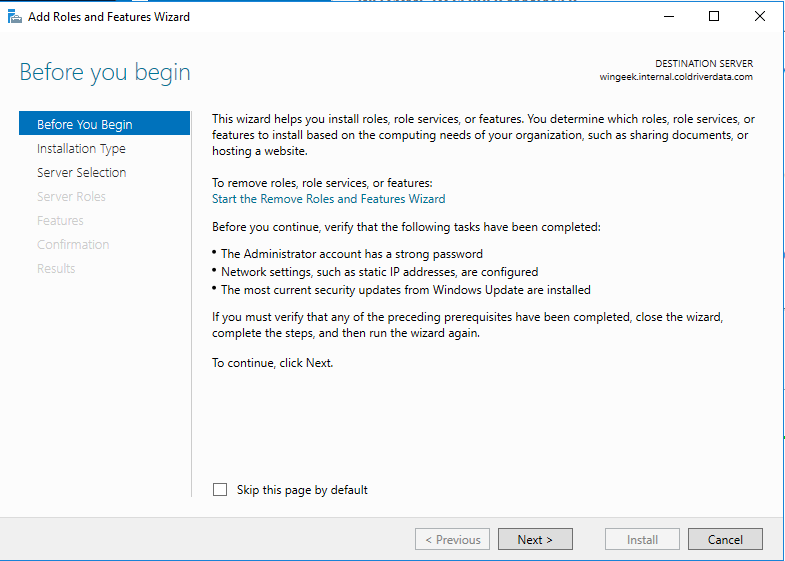
Click Next
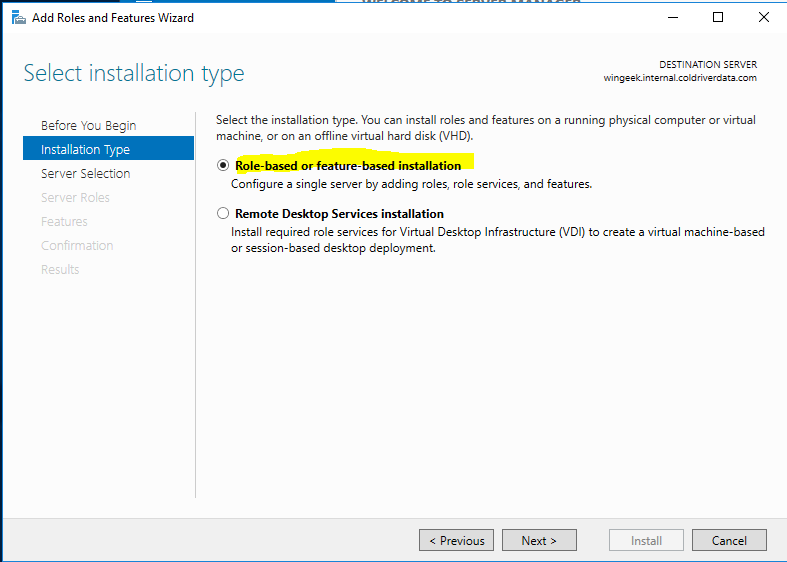
Select Role Based
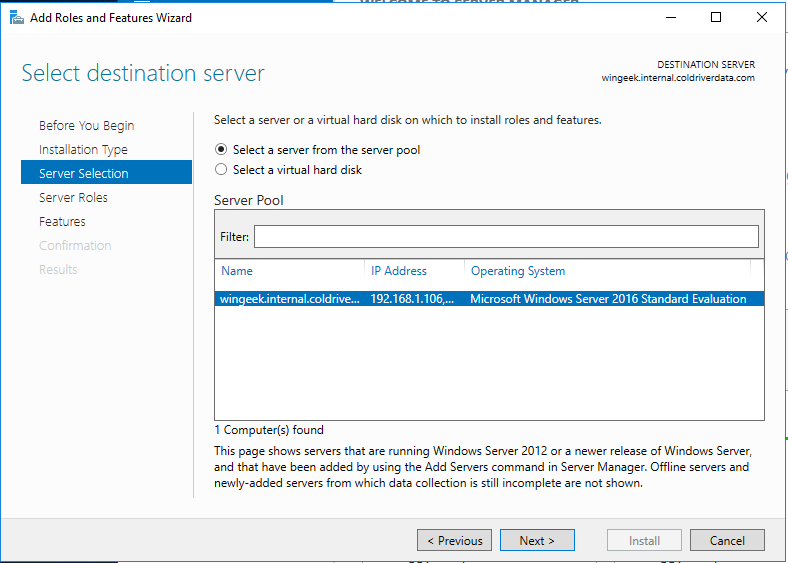
Select the Server and Next
Select Active Directory Federation Services
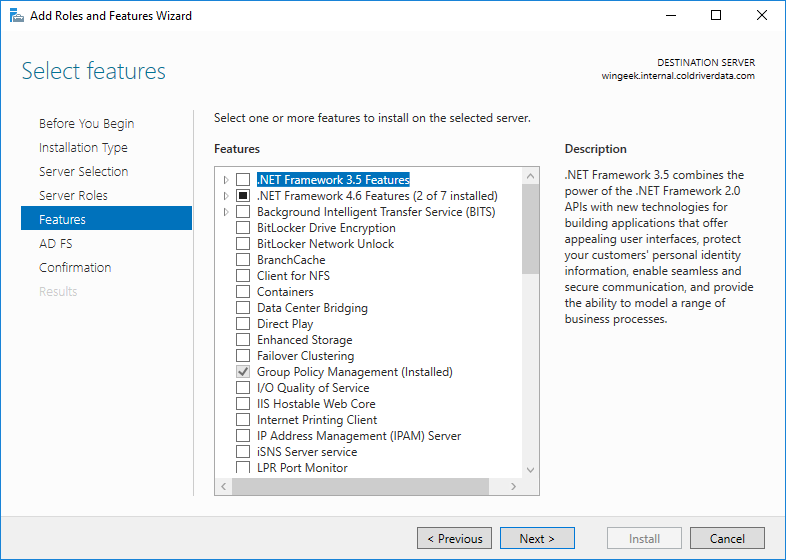
Leave the default and select next
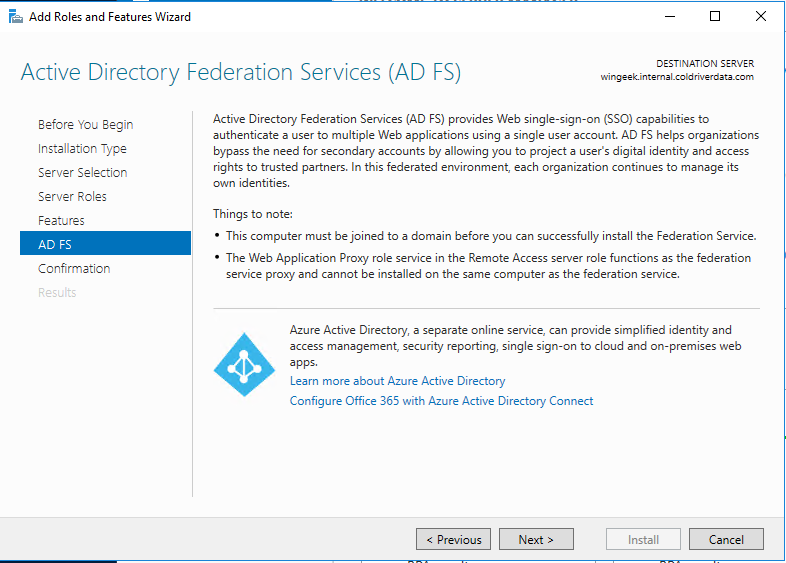
Select Next
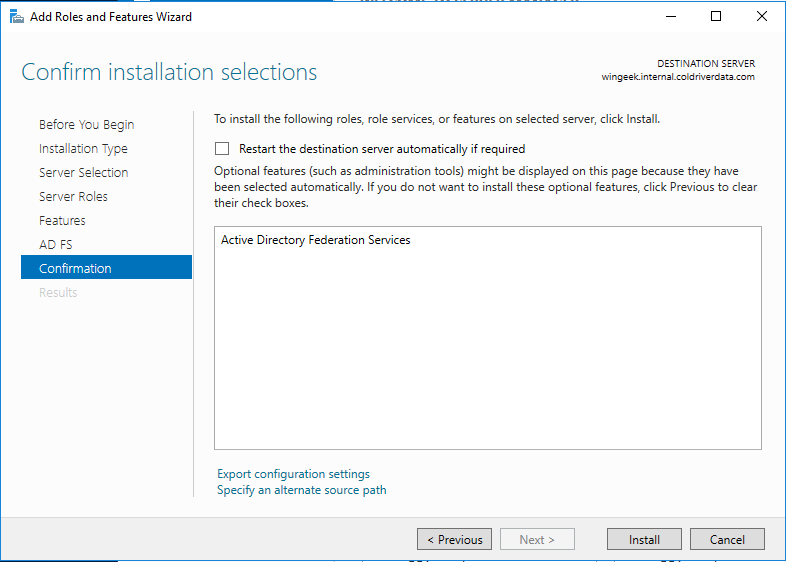
Select Install
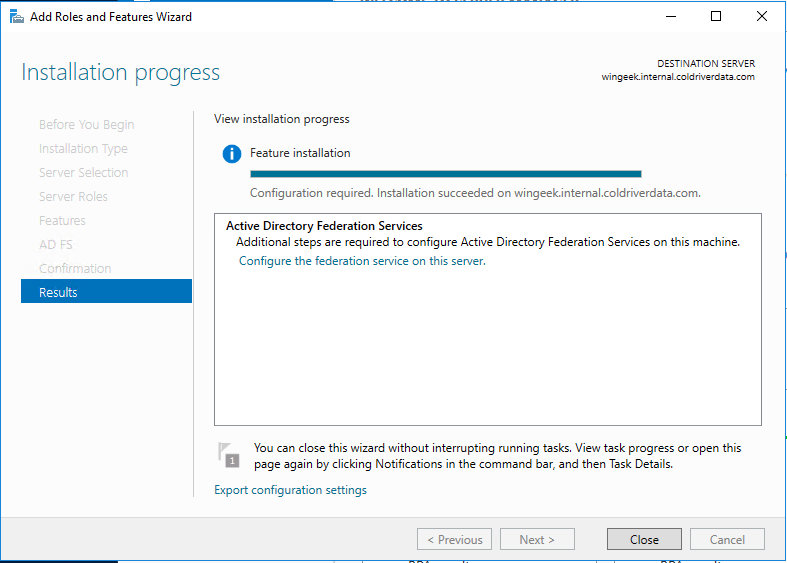
Once Installation is complete, Click Close. Now we can configure the service.
The ADFS service will need a certificate. Follow the steps below to configure the SSL certificate.
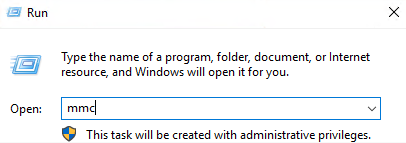
Click Start and then type “run”.
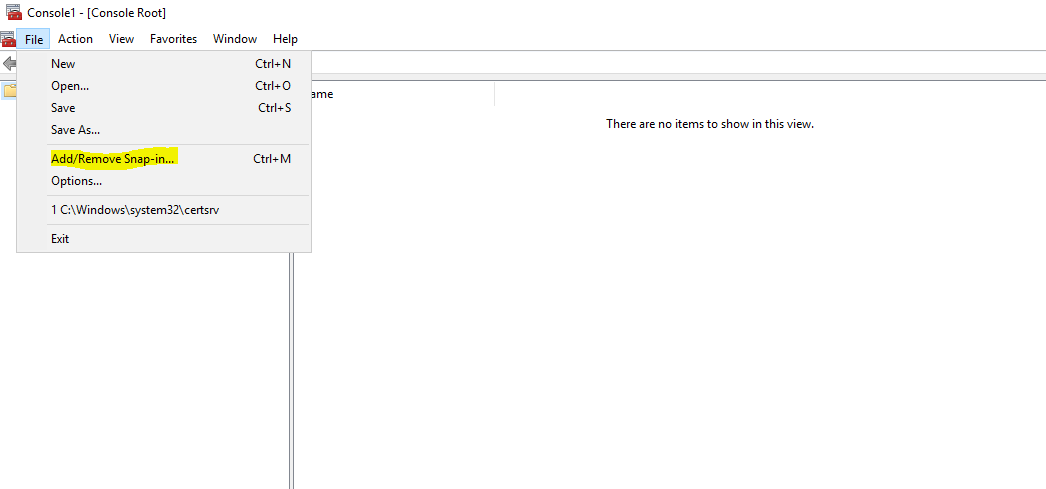
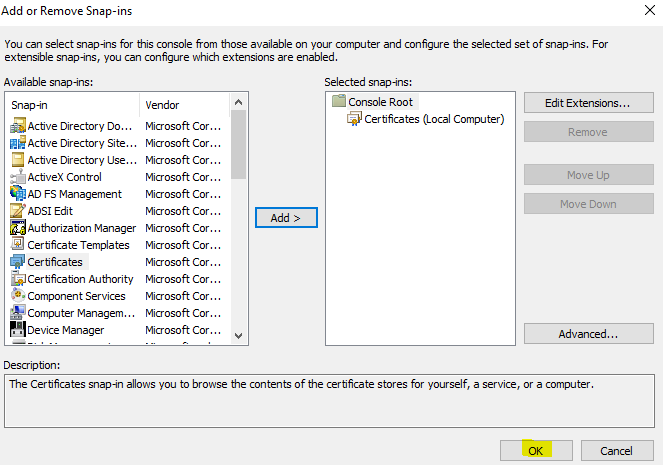
In the console, select “File” > “Add/Remove Snap-in”.
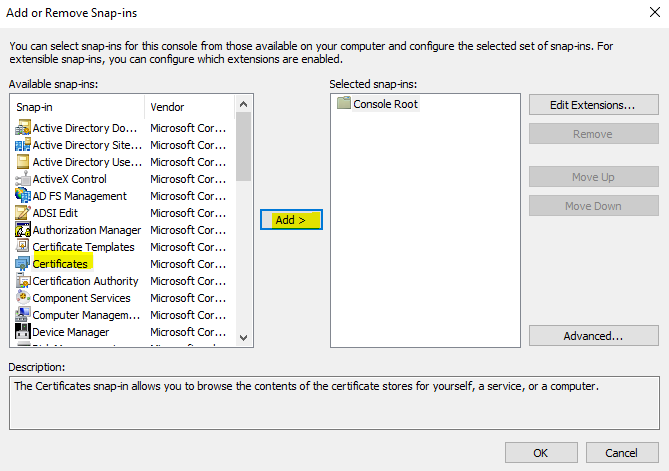
Select “Certificates” > “Add”.
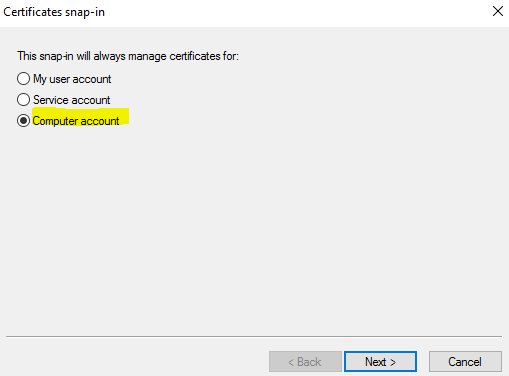
Select “Computer Account”.
Select “Local Computer”. Then “Finish”.
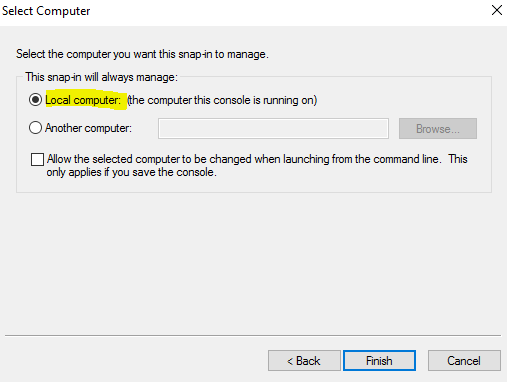
Click Finish.
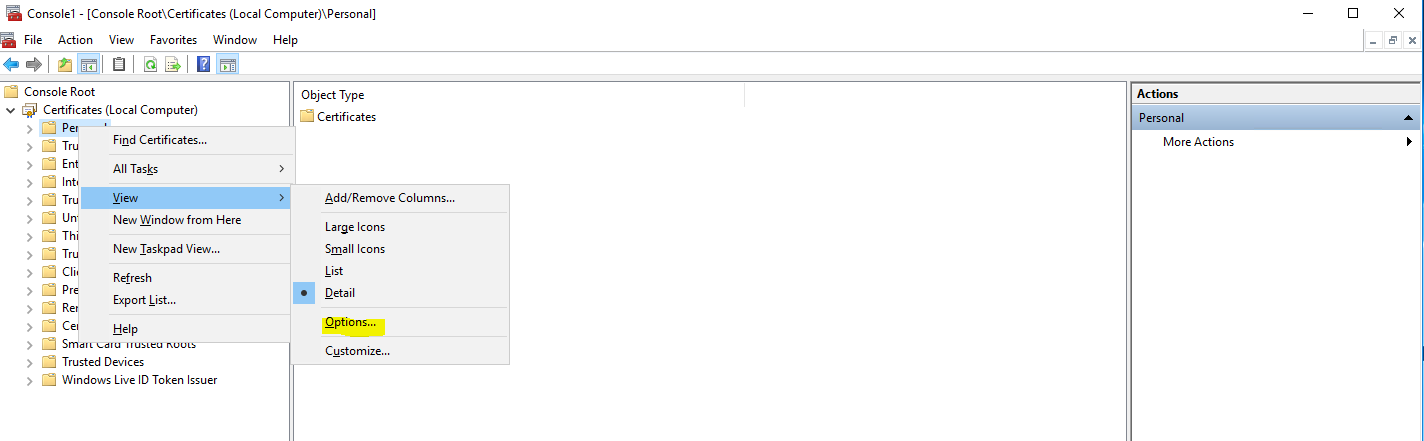
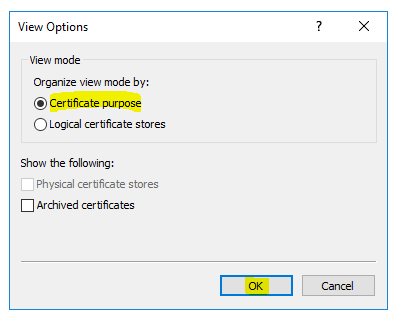
On the following screen, right click on “Personal”, go to “View” and then click on “Options”.
Select “Certificate Purpose” and then “OK”.
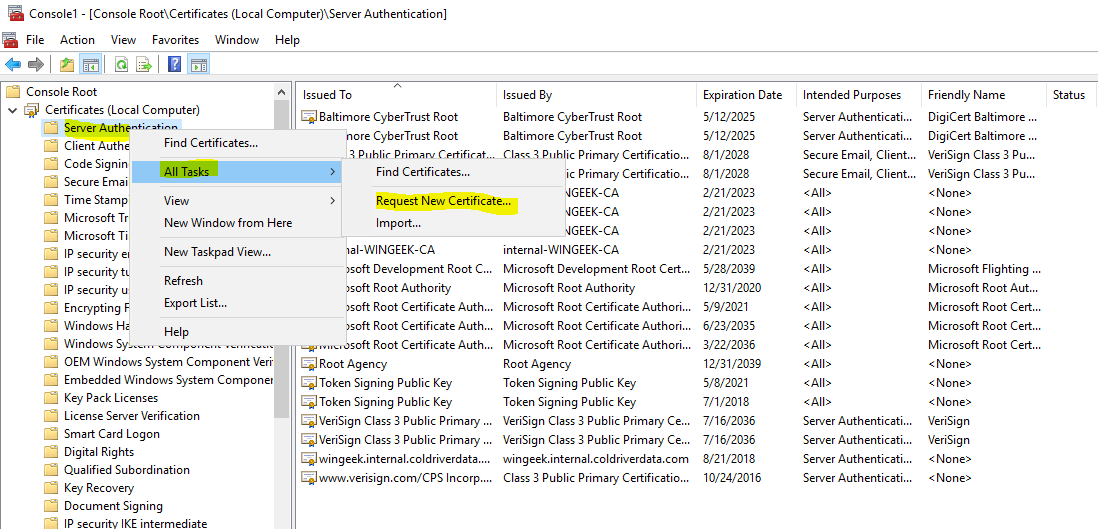
Right Click on “Server Authentication”. Go to All Tasks and click on “Request New Certificate”.
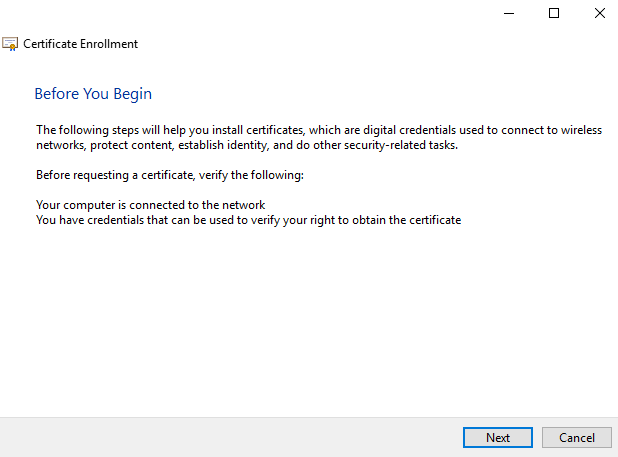
Click Next.
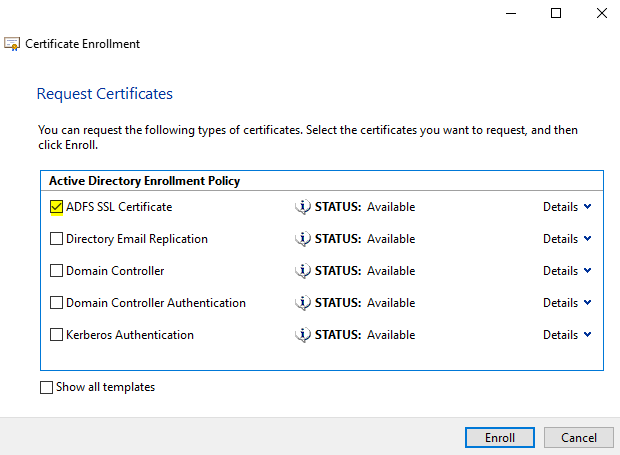
Click Next.

Select the ADFS SSL Certificate. If you have not created this, please see this KB on how too install it.
Installing Enterprise CA for Active Directory Federation Services
Success page. Click Finish.

Now Close MMC. Choose “No” and close.

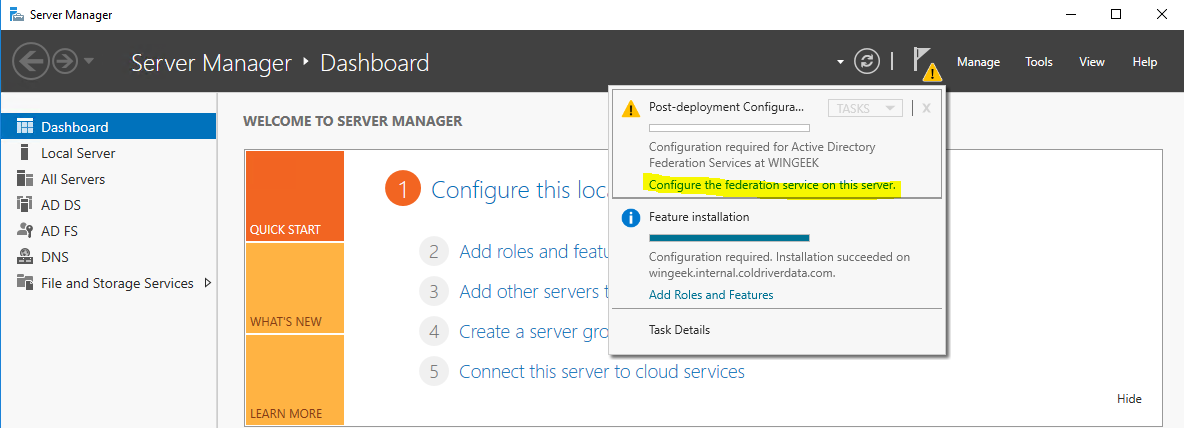
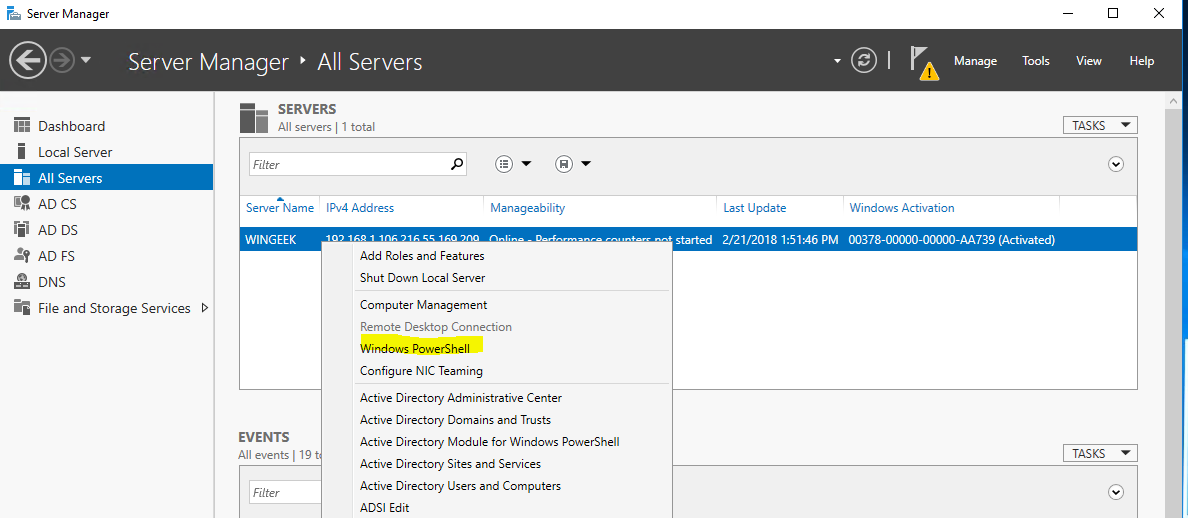
Now, back at the server manager, click the top yellow warning icon at the top of server manager and click on “Configure the federation service on this server”.
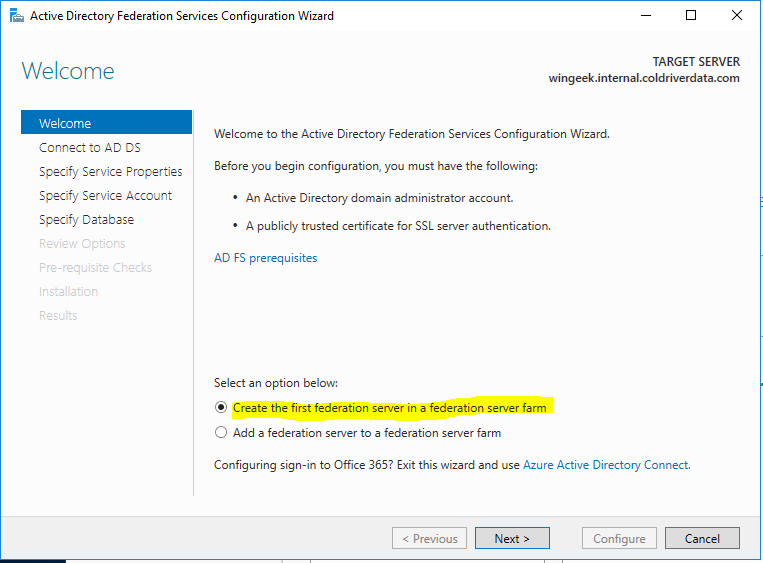
Select “Create the first federation server in a federation server farm” as we are adding the first one.
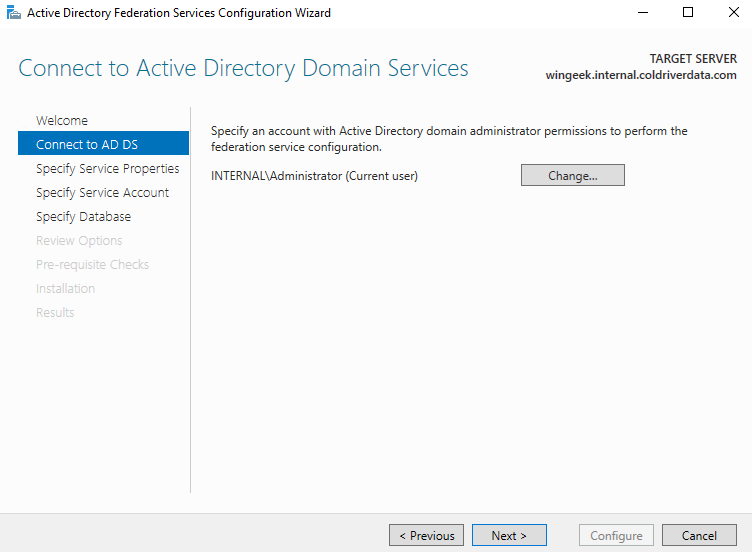
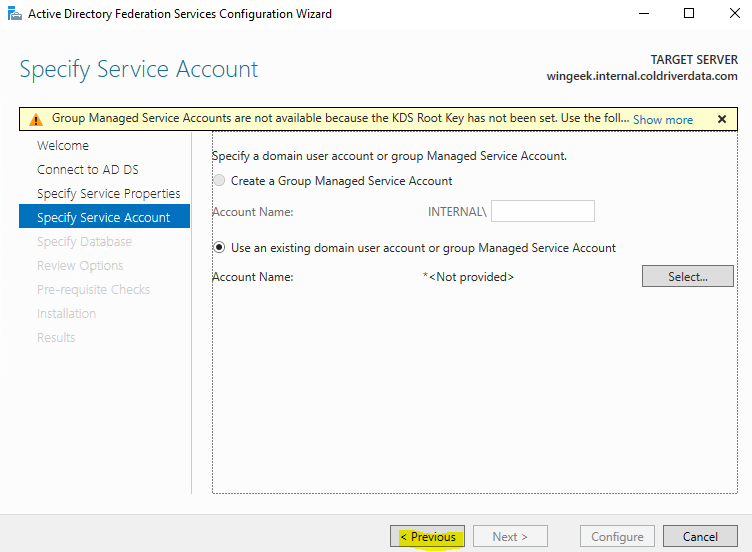
Select the account and click next.
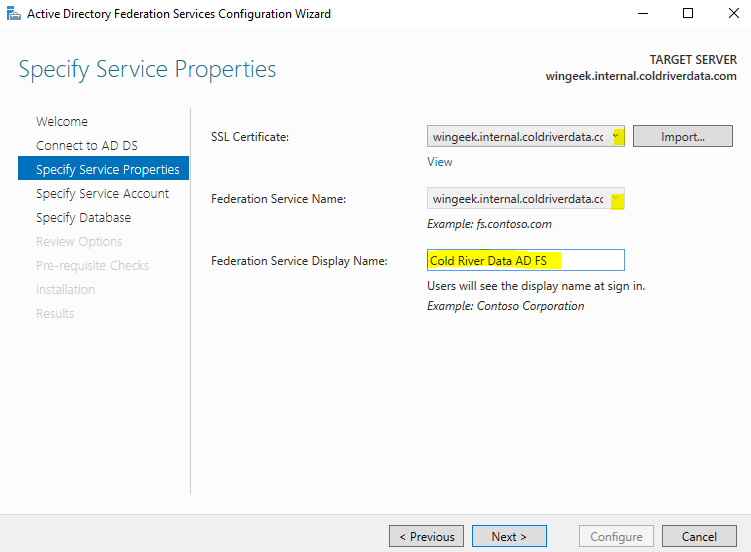
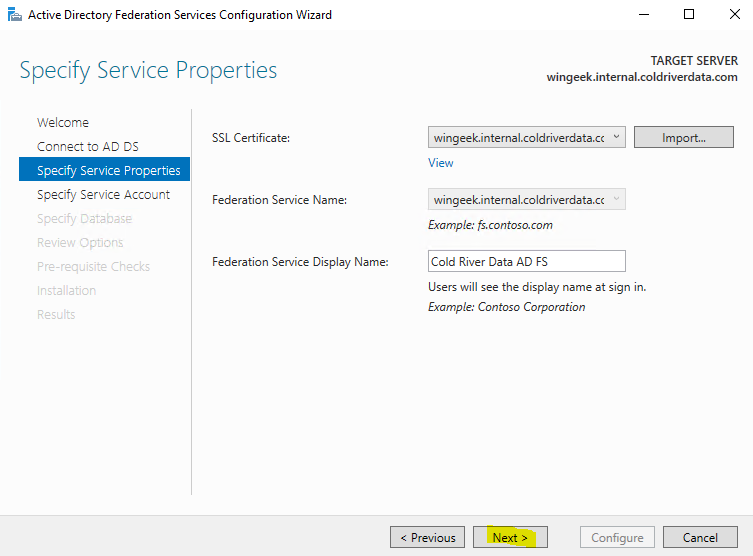
Select the SSL Certificate from the drop down and give the Federation Service a Display Name that the users will see at the login.
On the next page we are informed that we need to run a powershell command to add a Root Key. Windows manages the account and password for the service account.

To run the command, click on the top of the server manager page to display (do not close the ADFS wizard as we will need to come back to it).

Select All Servers on the left and then right click on the Domain Controller and then click on Windows PowerShell.
Run the command:
Add-KdsRootKey -EffectiveTime (Get-Date).AddHours(-10)
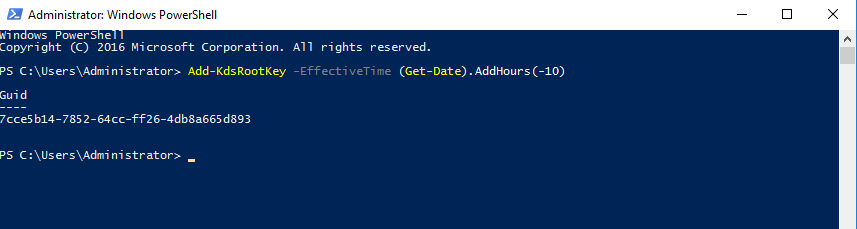
Exit PowerShell. Now bring up the ADFS wizard again. Click Previous.
Now click Next.
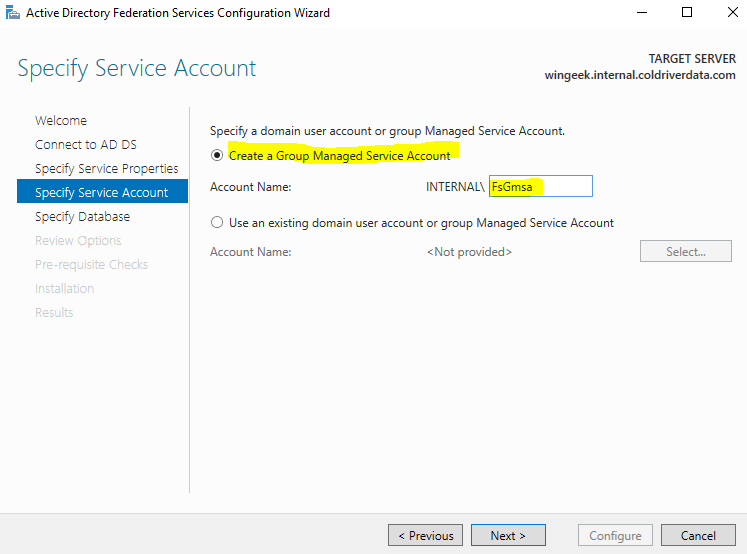
Now the warning is gone and we can set up the Group Managed service Account as “FsGmsa (Federation Service, Group Managed Service Account)”.
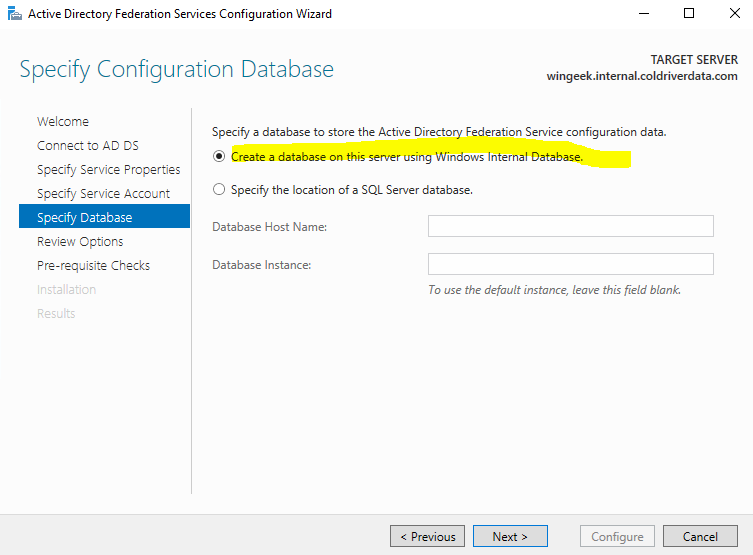
Now, we need a databse to store the configuration data. In this case, I am creating an internal database.
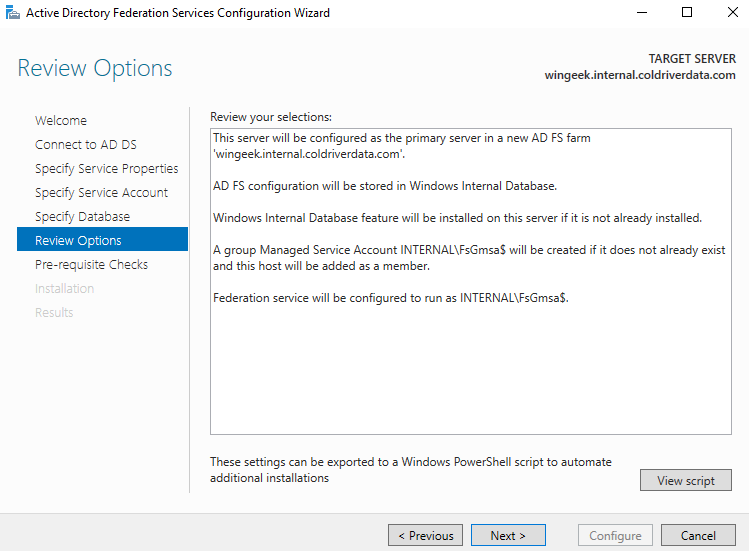
Review Options.
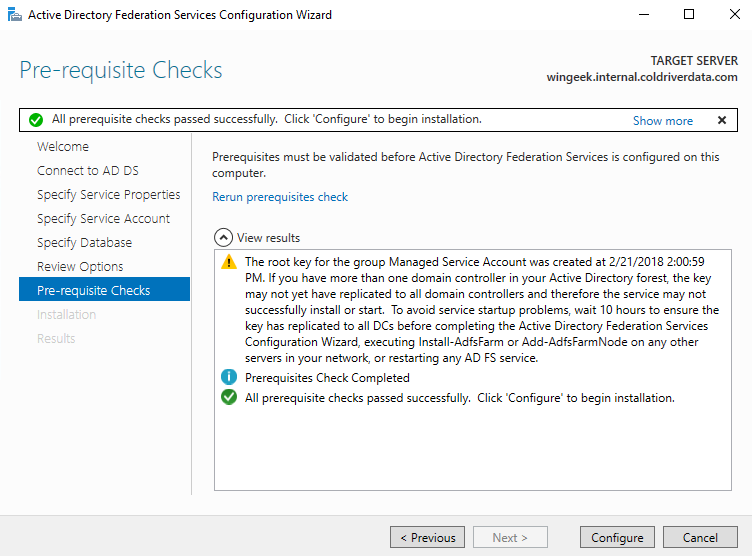
Next is the check. Click Configure.
**Please note the warning that the root key
Completion and errors.
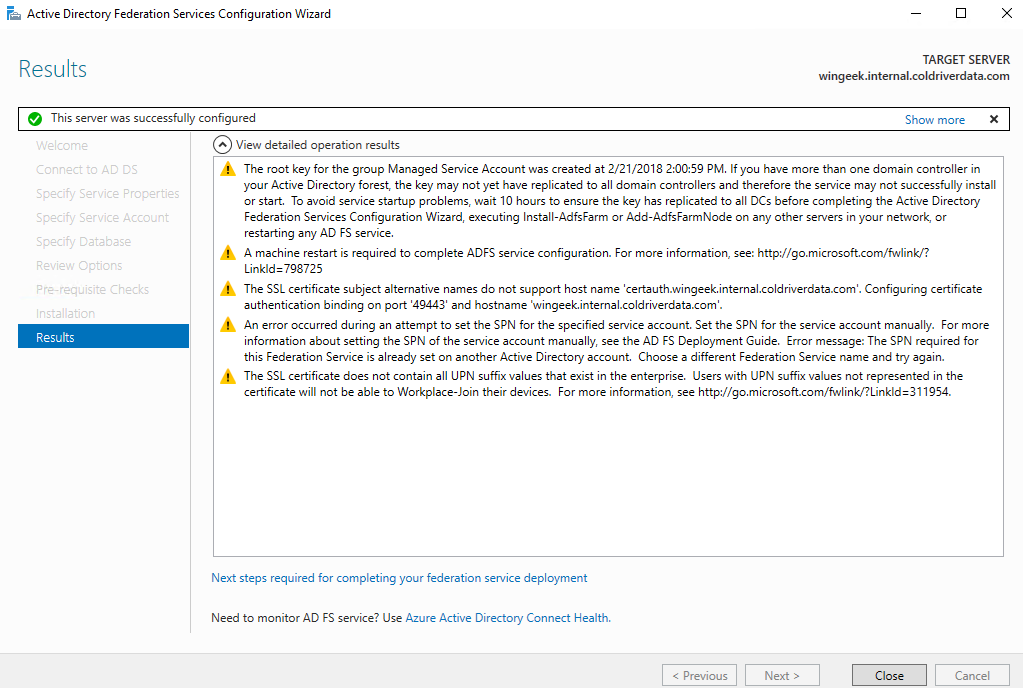
SPN
It turns out this is a known issue that can be fixed by running the following at the command line. (Make sure you run the command window as an administrator.)
setspn -a host/localhost adfssvc
Note that is the name of the service account I used.
If the command is successful, you see output like this:
Registering ServicePrincipalNames for
CN=ADFSSVC,CN=Users,DC=mydomain,DC=aws,DC=amazon,DC=com
host/localhost