This article guides you how to assign Home Folder to Active Directory users.
Install the File Server Resource Manager
- Open Server Manager
- Go to “Add roles and features”
- In “Server Roles” expand “File and Storage Services“, again expand “File and iSCI Services“, then tick “File Server Resource Manager” and click “next” to install.

Configure a Shared Folder
- Create a shared folder ex:- D:\HOME
- Open “HOME” folder properties by right clicking on it and go to properties > sharing.
- Click on “Share” button and activate folder sharing. Add users. Find shared folder path ex:- “\\YOUR-SERVER\home\”
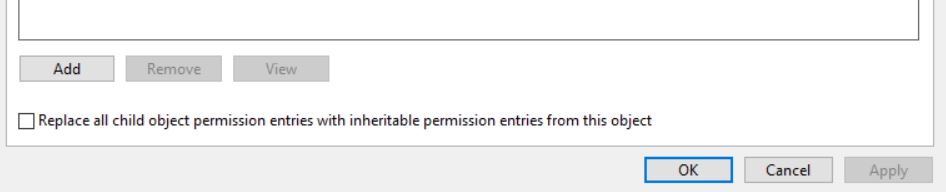
- select “security” tab and then open “Advance Security”. Please make sure inheritance is disabled like below.
Configure Disk Quota
- Open “File Server Resource Manager”
- Expand “Quota Management” , you can configure “Quota Templates” if you wish or you can use existing template like here I did.
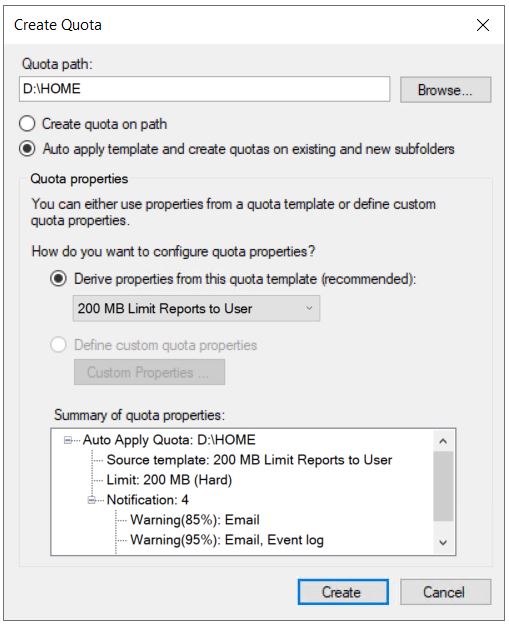
- Click on “Quotas” –> “Create Quotas” from right hand side.
- On then “Create Quota” window, browse and set Quota Path, select “Auto apply template and create quotas on existing and new sub folders” radio button, and make sure to select previously configured template from the drop down menu (200 MB Limit Reports to User – existing template).
Attach Network folder to Active directory user
Open “Active Directory Users and Computers”
Right click on user and open “properties” , then browse “profile” and set following Network path there.
“\\YOUR-SERVER\home\%username%”